Create a Segment using the Public API
Learn how to use the Public API to upload bulk segments of users at once.
Table of Contents
This doc is to give non-technical users a step-by-step guide on how to use the Appcues Public API to bulk add users Segment. This method of bulk uploading users to a segment is helpful when creating a large segment of user IDs.
This is the recommended method when you have a large Segment that has greater than 1000 targeting values.
Step 1: Get your Public API Key and Secret
To use any Public API endpoint, you will need to get these two things from your Studio account. Here's how:
- Go to your account settings page and click on the “API Keys” tab: https://studio.appcues.com/settings/keys.
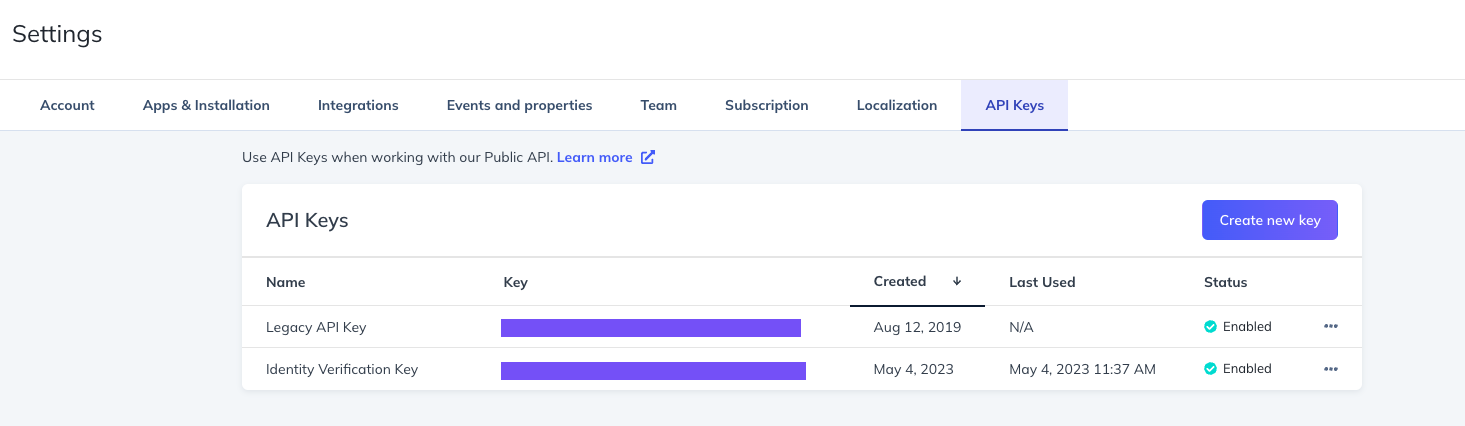
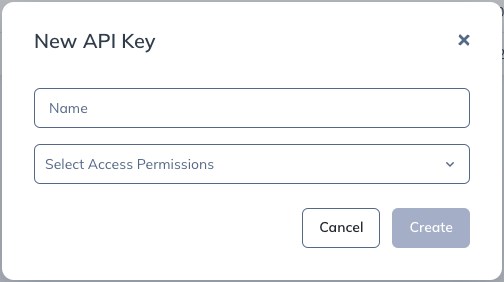
- Click “Create Key”, give the key a name and Permission level ("Publisher" in this case is fine), and click “Create”.
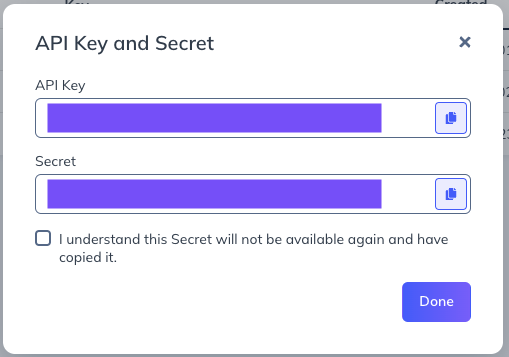
- On the next screen, you’ll need to copy and paste both the API Key and Secret values somewhere to be used later.
Once you leave this screen, you won’t be able to see your Secret again!
For more information about the Public API, check out: https://api.appcues.com/v2/docs#appcues-api
Step 2: Create the Segment
Now that you have your API Key and Secret, you can start using the API! First, you need to create a Segment.
Note: you can also create the Segment directly in Studio first!
- Replace ACCOUNT_ID with your Studio account ID.
- Replace API_KEY with the API Key from Step 1, followed by a colon.
- Replace API_SECRET with the Secret from Step 1.
- Give the Segment a name and description (each enclosed in quotes).
curl https://api.appcues.com/v2/accounts/ACCOUNT_ID/segments \
-u API_KEY:API_SECRET \
-H 'Content-type: application/json' \
-d '
{
"name": "My best friends",
"description": "A complete list of my best friends"
}
'
Once your command is ready, you can now call the API. Copy and paste the command into your terminal of choice (we use MAC Terminal, but the same instructions apply to Windows/Linux Command Prompt as well) and hit enter. If the call was successful, you should see a message returned like this, which includes the Segment’s ID:
{"created_at":"2022-02-03T18:23:33.178Z","created_by":"de0138b9-0a84-498e-8a09-78a23ddab4b
6-02","description":"Feb 3 Demo","id":"-Mv-owpQUFrI5RFTdh5_","name":"Segment Upload Demo F
eb 3","updated_at":"2022-02-03T18:23:33.178Z","updated_by":"de0138b9-0a84-498e-8a09-78a23d
dab4b6-02","url":"https://api.appcues.com/v2/accounts/94742/segments/-Mv-owpQUFrI5RFTdh5
_"}
You can also check in Studio that the Segment has been created.
Step 3: Upload User IDs to the Segment
This request only works with a list of User IDs that you would like to include in your segment.
A second API call will now allow you to add a bulk list of user IDs to the Segment. The easiest way to use this call is to reference a CSV file, consisting of a single column of userIDs. This file can include as many userIDs as you like, but userID is the only property accepted.
- Replace ACCOUNT_ID with your Studio account ID. If you're not sure what your account ID is, you can find it on your Settings page.
- Replace SEGMENT_ID with the ID of the Segment you created in Step 2.
- Replace API_KEY with the API Key from Step 1, followed by a colon, and then replace API_SECRET with the Secret from Step 1.
- Replace path/to/file/csv with the name of the csv file (keep the @ where it is).

curl https://api.appcues.com/v2/accounts/ACCOUNT_ID/segments/SEGMENT_ID/add_user_ids \
-u API_KEY:API_SECRET \
-F file=@path/to/file.csv
Copy and paste the command into Terminal and hit enter. You can use the Mac Terminal or Windows/Linux Command Prompt.
If the call was successful, you should see a message returned like this:
{"job_id":"c5abb279-85d1-4c8b-9930-f37a0460a82f","job_url":"https://api.appcues.com/v2/acc
ounts/94742/jobs/c5abb279-85d1-4c8b-9930-f37a0460a82f","status":202,"title":"Accepted"}
Now that list of users will qualify for this Segment. You’ll see two changes in Studio:
- The Segment will have a condition like this:

2. Users that belong to the list will have a property on their User profile like this:

Now you’ve got a Segment that’s ready to be used for targeting!