Build a Mobile Flow Across Screens
Learn how to create a Mobile Flow that spans across screens.
Table of Contents
In many cases when you’re building a mobile flow you’ll want to build the flow so it spans multiple screens. This can be a great way to provide a general overview of your product or multiple functions of a new feature.
Setting up a mobile flow across screens requires Appcues to be set up in your app with screen tracking and deep links. To get the most out of this guide, complete those steps with your team.
Build Guide
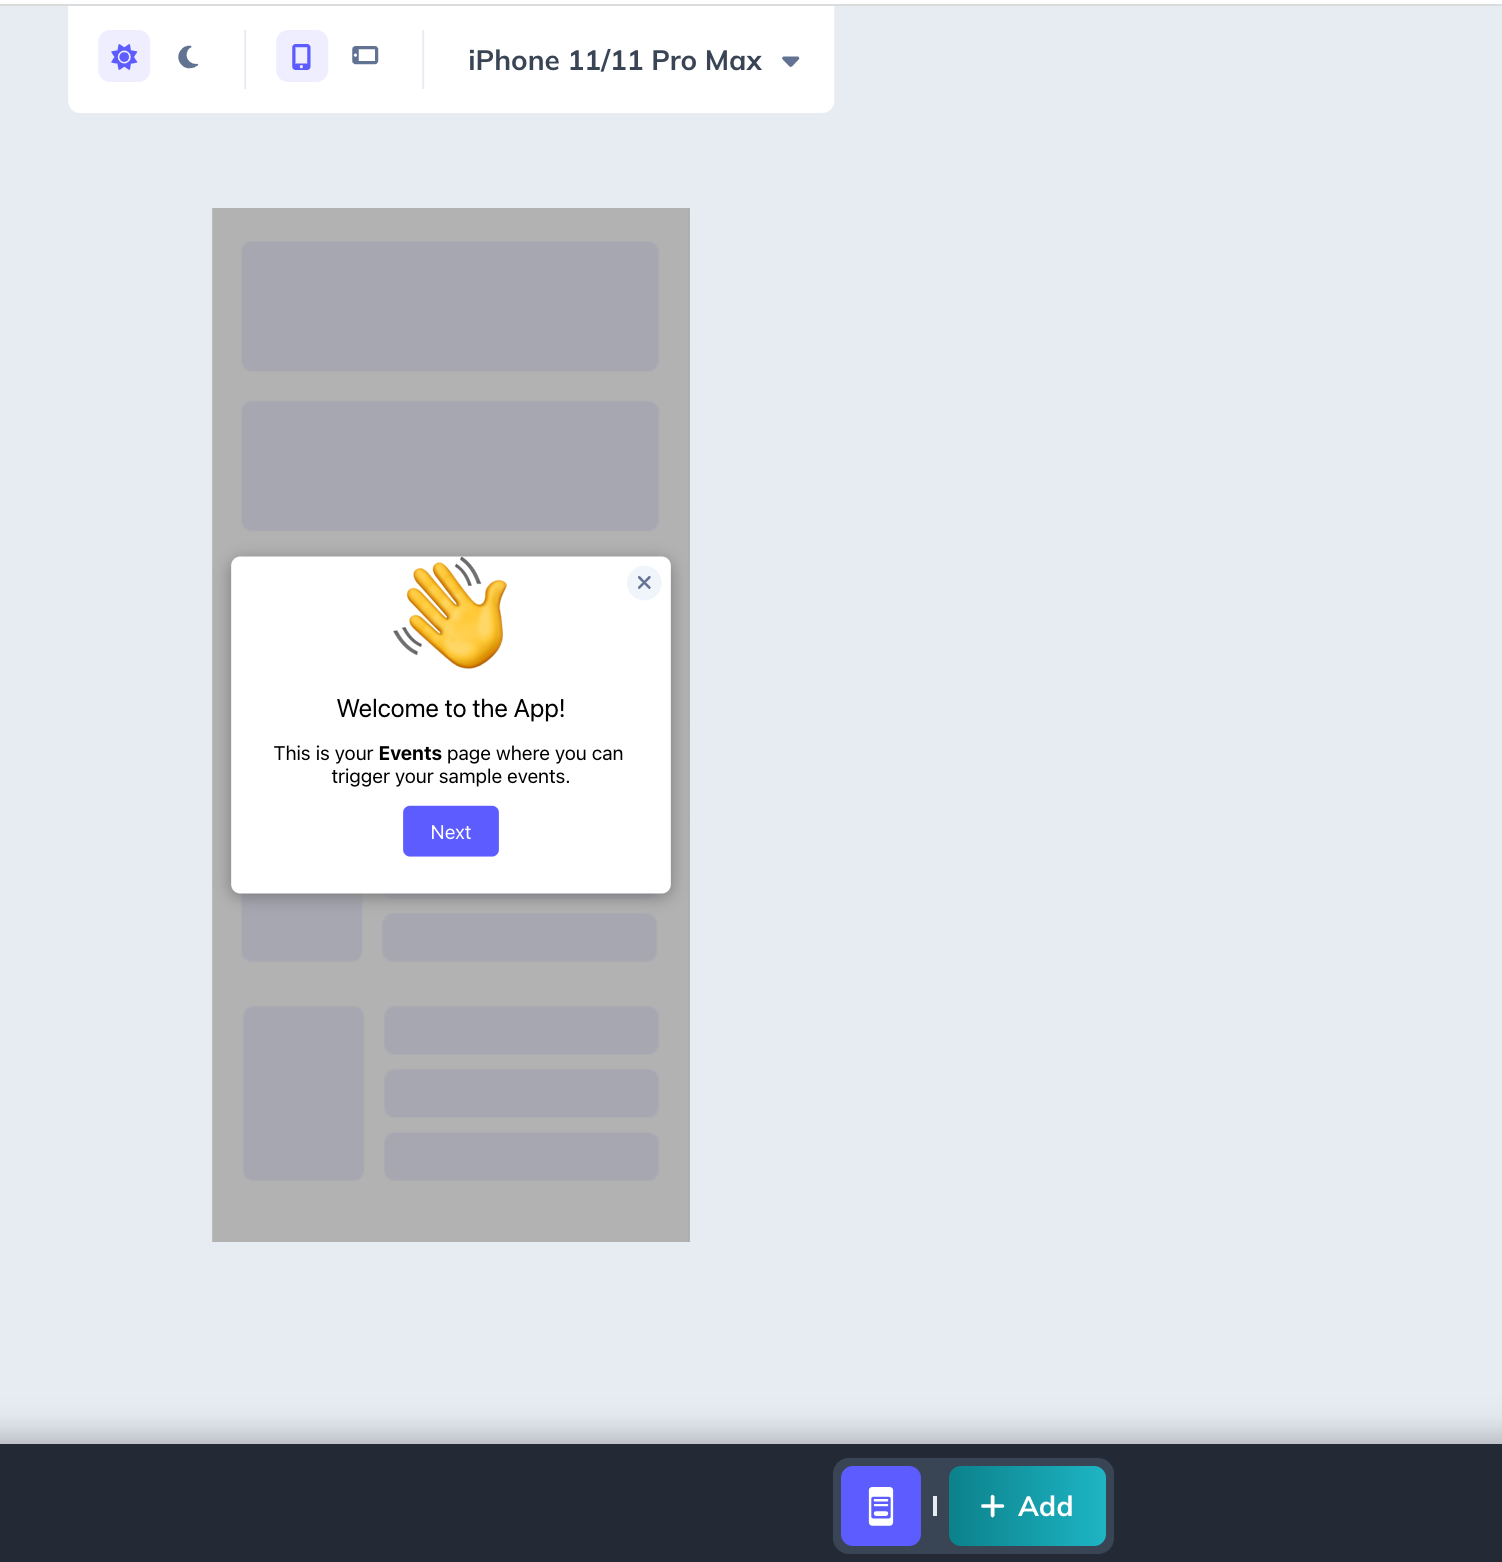
Step 1: Create an intro step
In a new flow add your first step to the flow and update the step to provide some context to your users. Here’s an example of how we’ve updated our intro step:
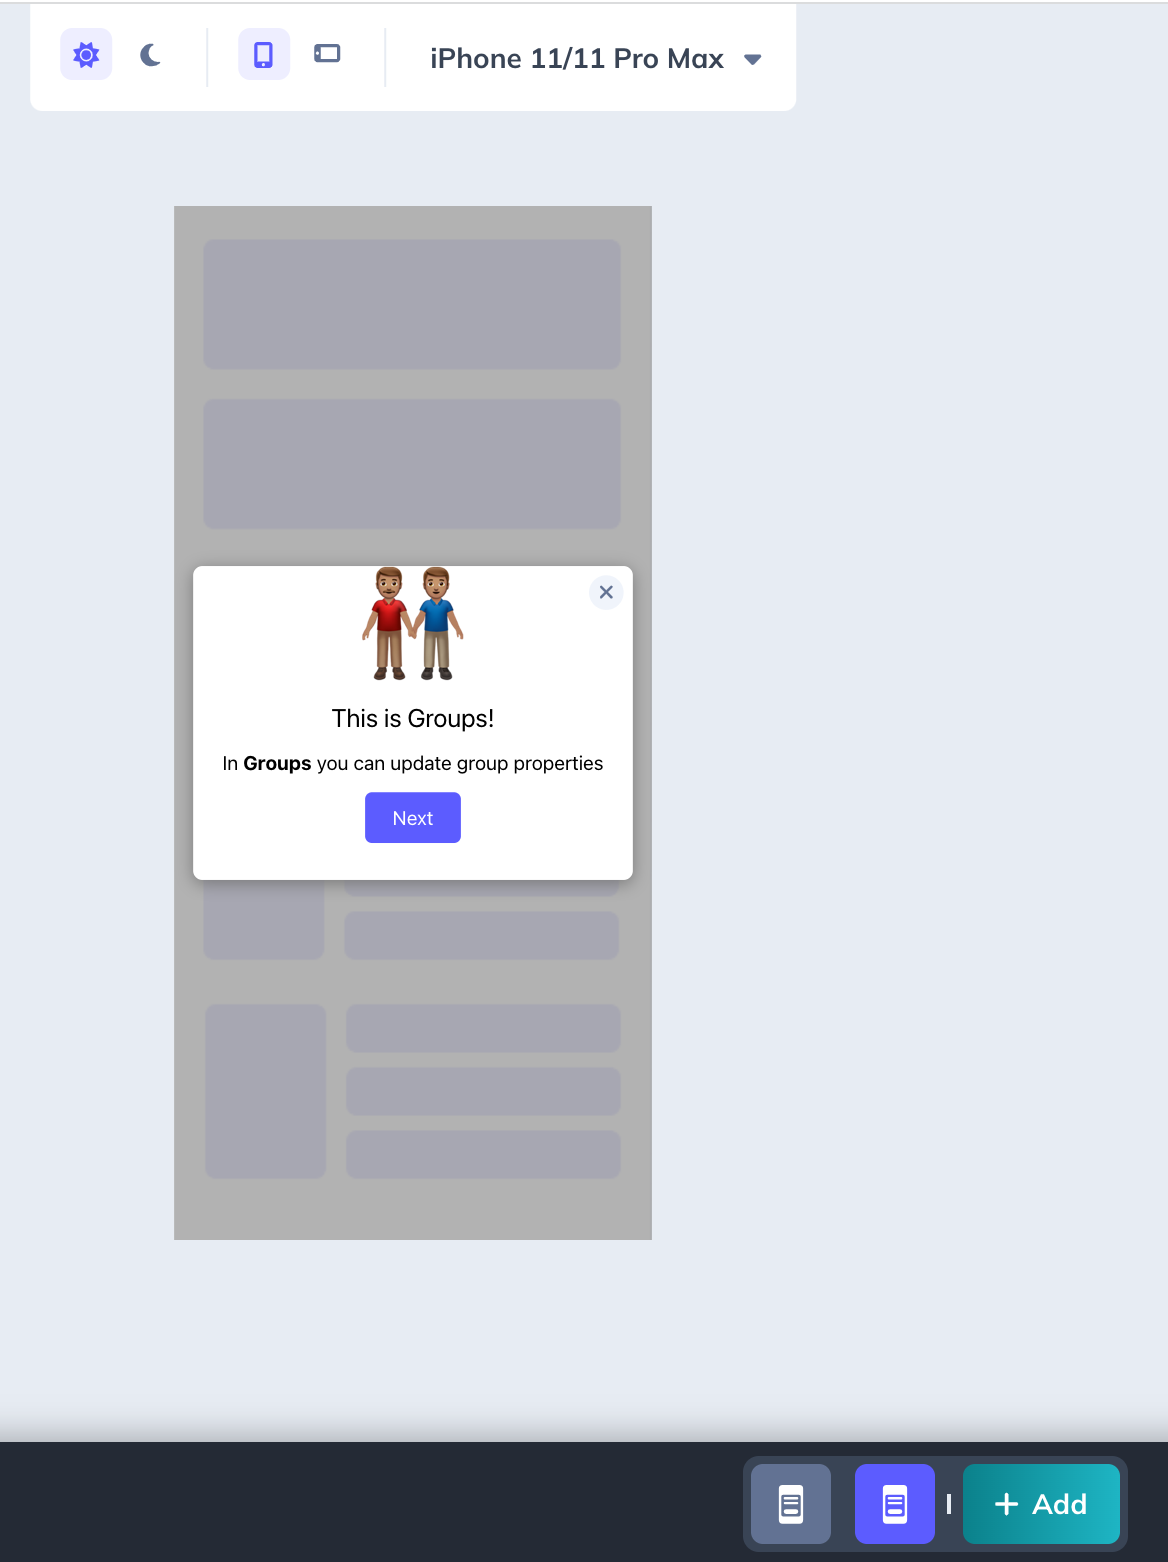
Step 2: Add your second step
Since we’re providing context for multiple screens we’ll need to create another step. This will be the step after navigation, we’ll update that in a moment!
Here’s what we created for the next step:
Step 3: Add the navigation to the target screen
While on the second screen, select the Navigation option in the side panel
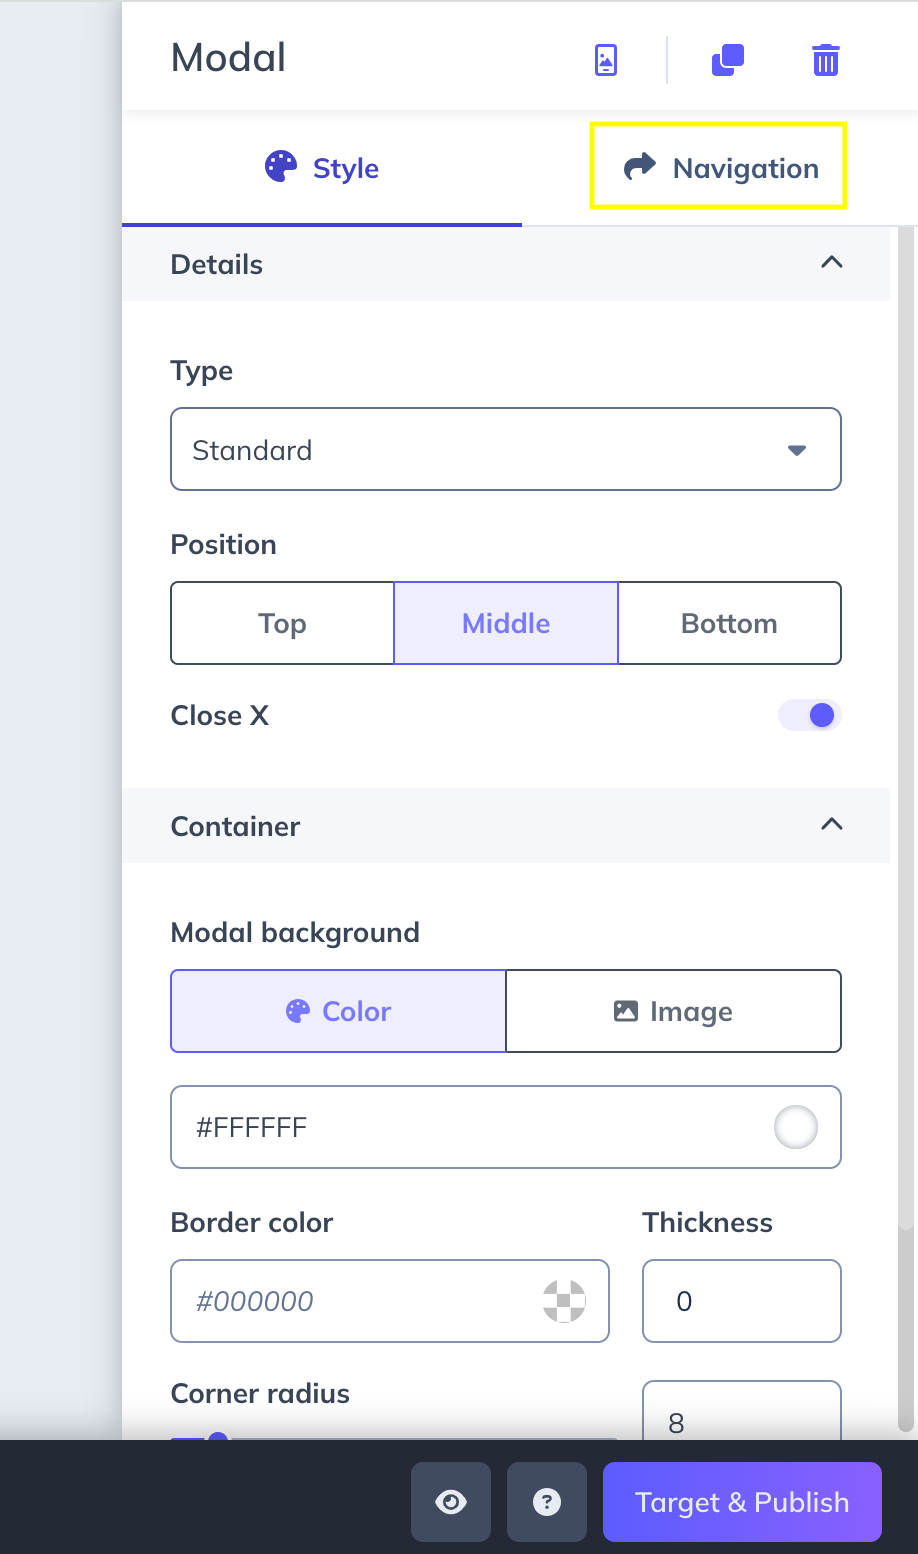
In the Screen, deep link URL field add the deep link for the screen that you want to navigate your users to.
Step 4: Target and publish!
With your flow created and configured, we’ll want to target and publish the flow.
Press the Target & Publish button to go to Studio to the targeting settings for the flow.

Under Screen Targeting, set the screen to the screen where the users should qualify to see this flow.
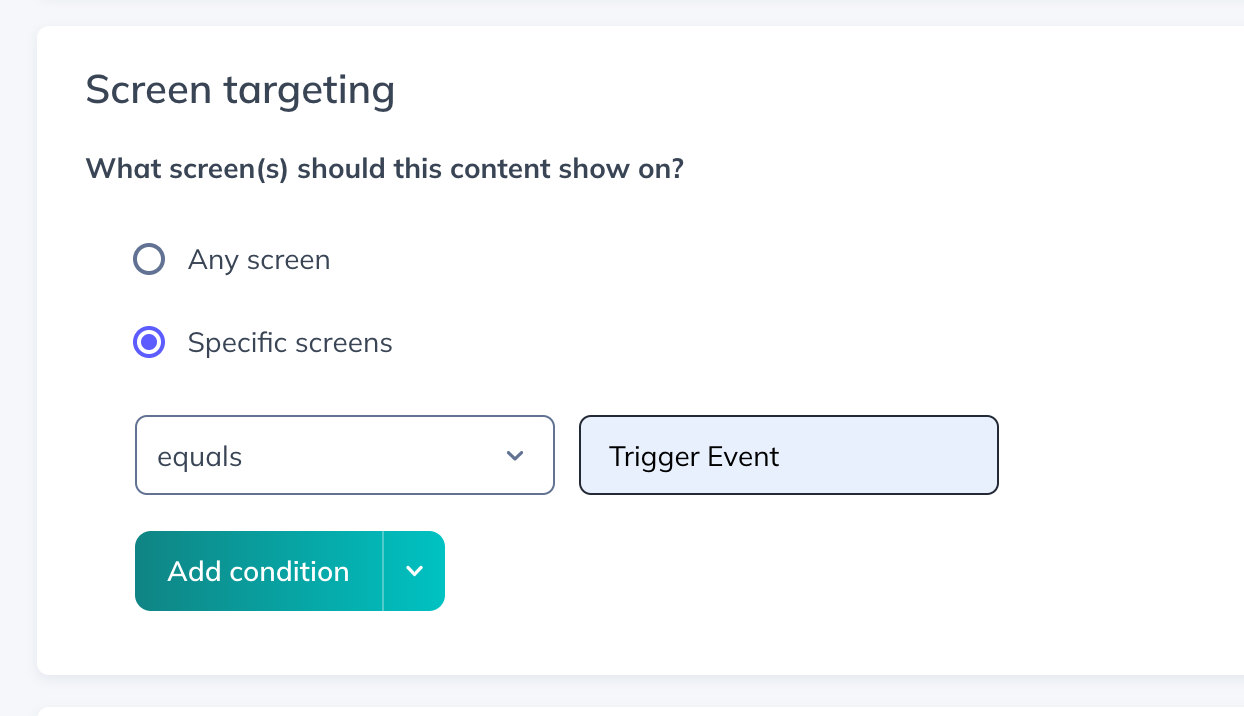
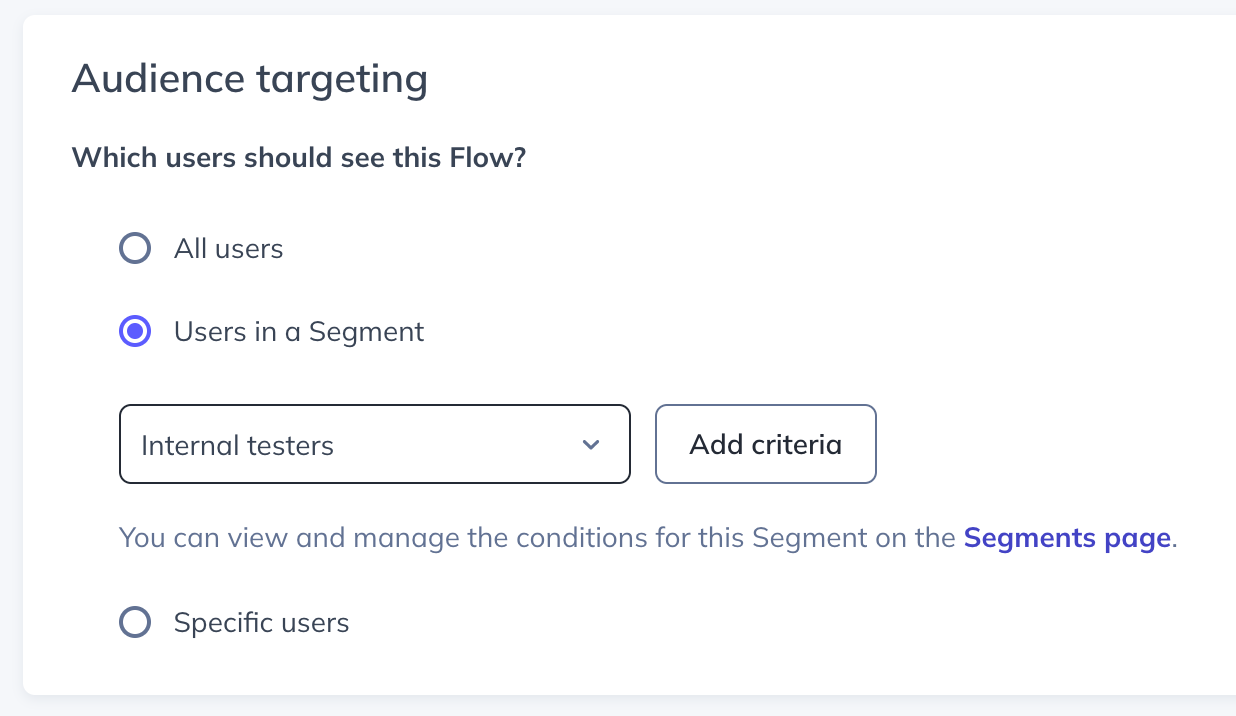
You’ll also want to restrict the users to just your test users when you’re first testing the flow. In this case, we’re using the Internal testers segment that we’ve already created for our own account.
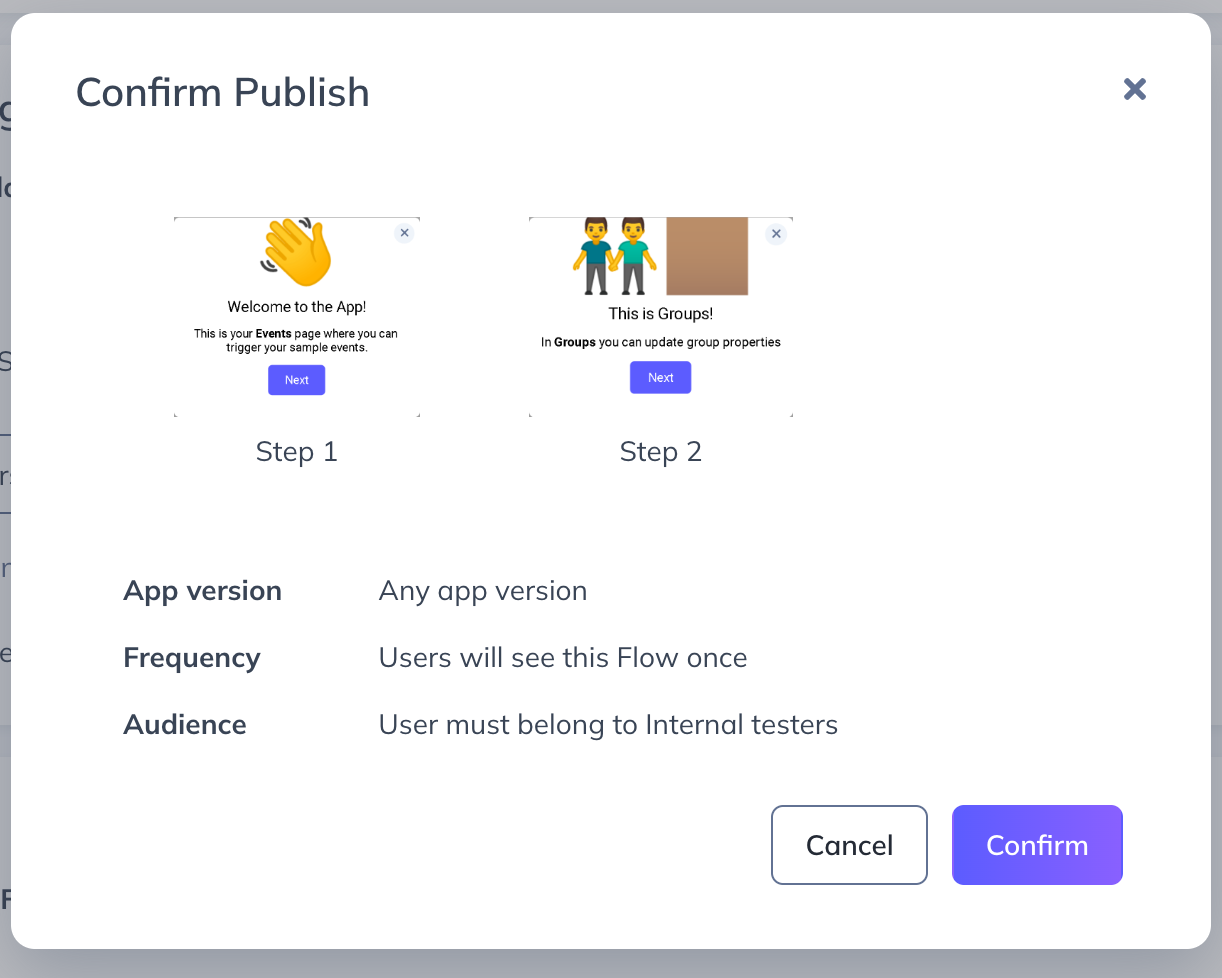
Now that we’ve created and targeted the flow we’re ready to make it live! Press publish.

Confirm, and you’re ready to go!
Happy building!