Build Push Notifications
Design push notification content, set interactions, and preview on a device
Table of Contents
Once your app is configured for push notifications, you can build push notification content directly from the Workflow canvas.
Create a push notification
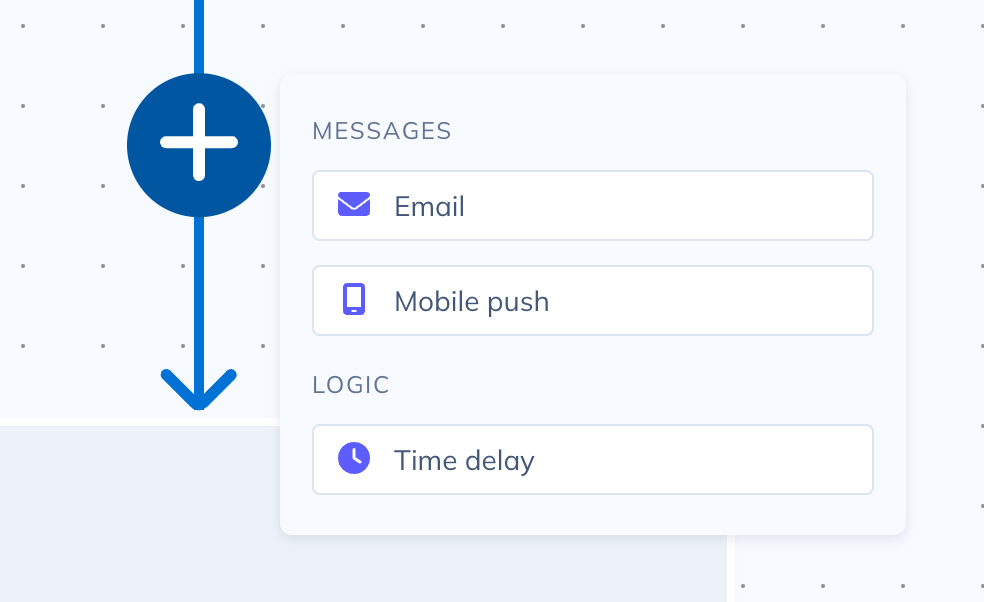
- Open your Workflow in Studio and click any + button on the canvas.
- Select Mobile Push, enter an optional name, and click Create. The push editor opens.
Select apps
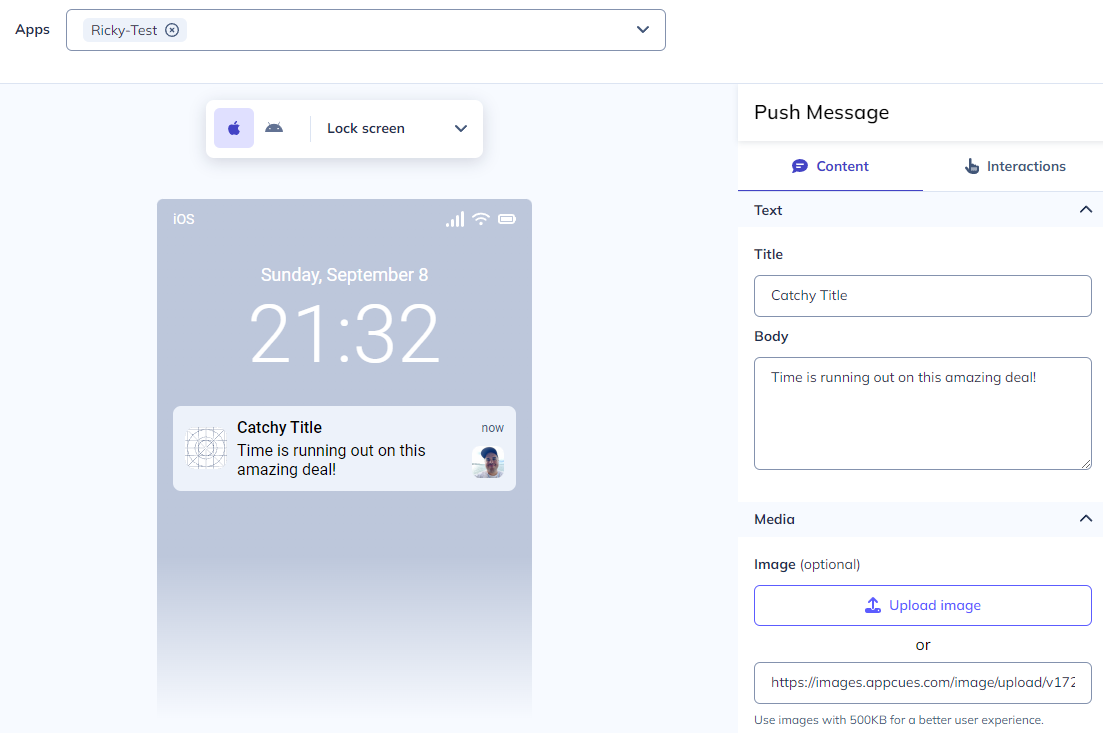
Choose at least one app for the notification. The content fields adjust based on the app you select (Android and iOS have different capabilities). If you have a cross-platform app, both platforms appear.
Content
Push notifications are short by design. Fill in:
- Title — The headline of the notification.
- Body — Supporting text with additional context. Keep it concise — most devices truncate after two lines.
- Image (optional) — An image displayed with the notification. Use a direct URL to a hosted image.
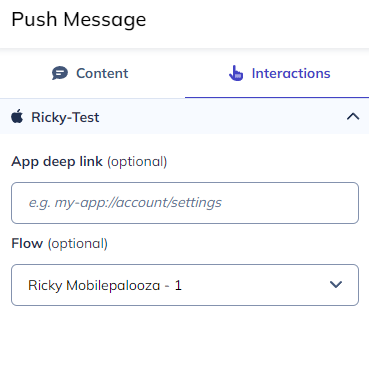
Interactions
Define what happens when a user taps the notification.
- Deep link — Send the user to a specific screen in your app. If you have both Android and iOS (or a cross-platform app) selected, set the deep link for each platform separately — they may use different URL schemes.
- Trigger a Flow — Launch an Appcues mobile Flow when the user opens the app from the notification. Like deep links, set this per platform if both are selected.
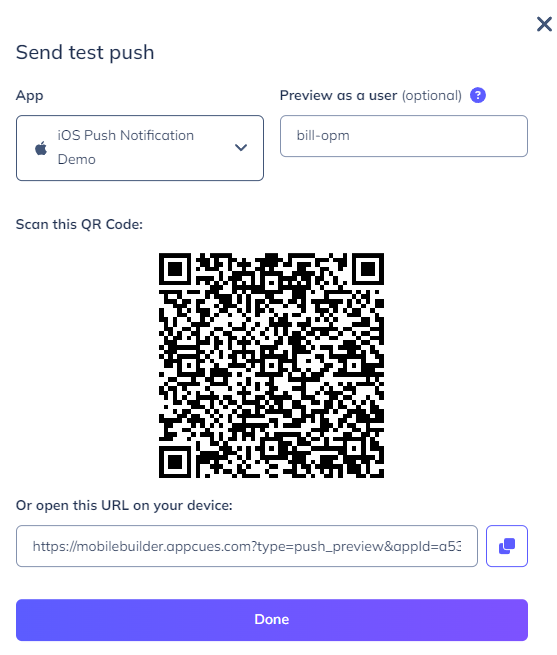
Preview and test
- Click Send test push in the editor.
- A modal appears with a link and QR code. Open the link or scan the QR code on a device to trigger a test notification.
- Optionally enter a User ID — if you do, personalization fields in the notification will use that user's profile values.
Publishing
Push notifications are published and unpublished together with their parent Workflow. You don't publish them individually.