Welcome your Users with Personalized Paths
Step by step to create a personalized welcome message that your users can choose.
Table of Contents
A welcome experience is an easy way to get started with Appcues and will have a great impact on a new user's perception of your application right from the start. Why? A welcome message:
- Is a way of introducing the human side of your product and lets users know you appreciate their business
- Sets the stage for more content to come (maybe immediately)
- Can expedite users completing tasks toward "activation"
Build Guide
Step 1: Add your Modal
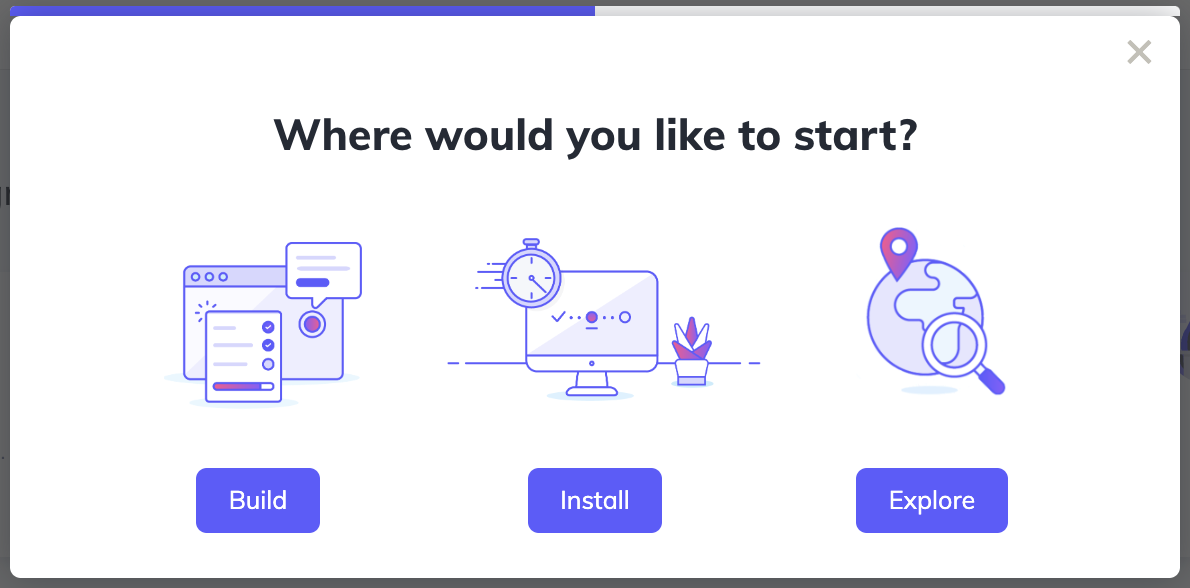
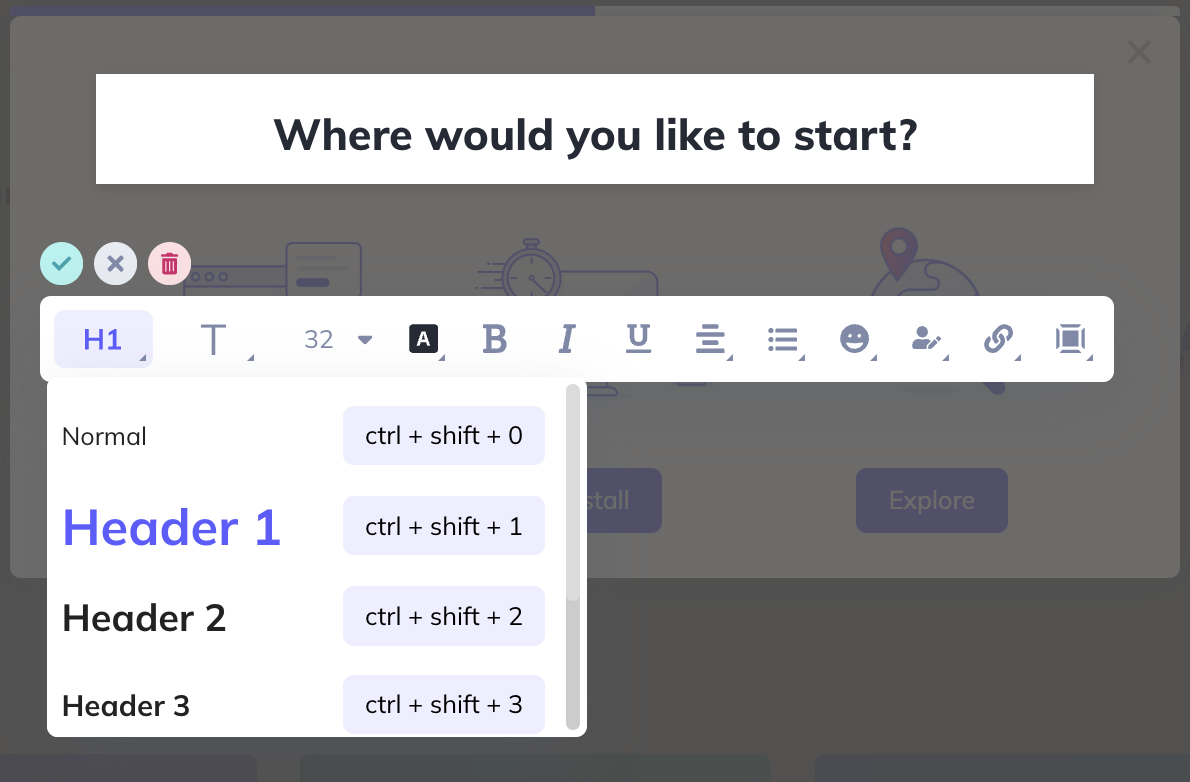
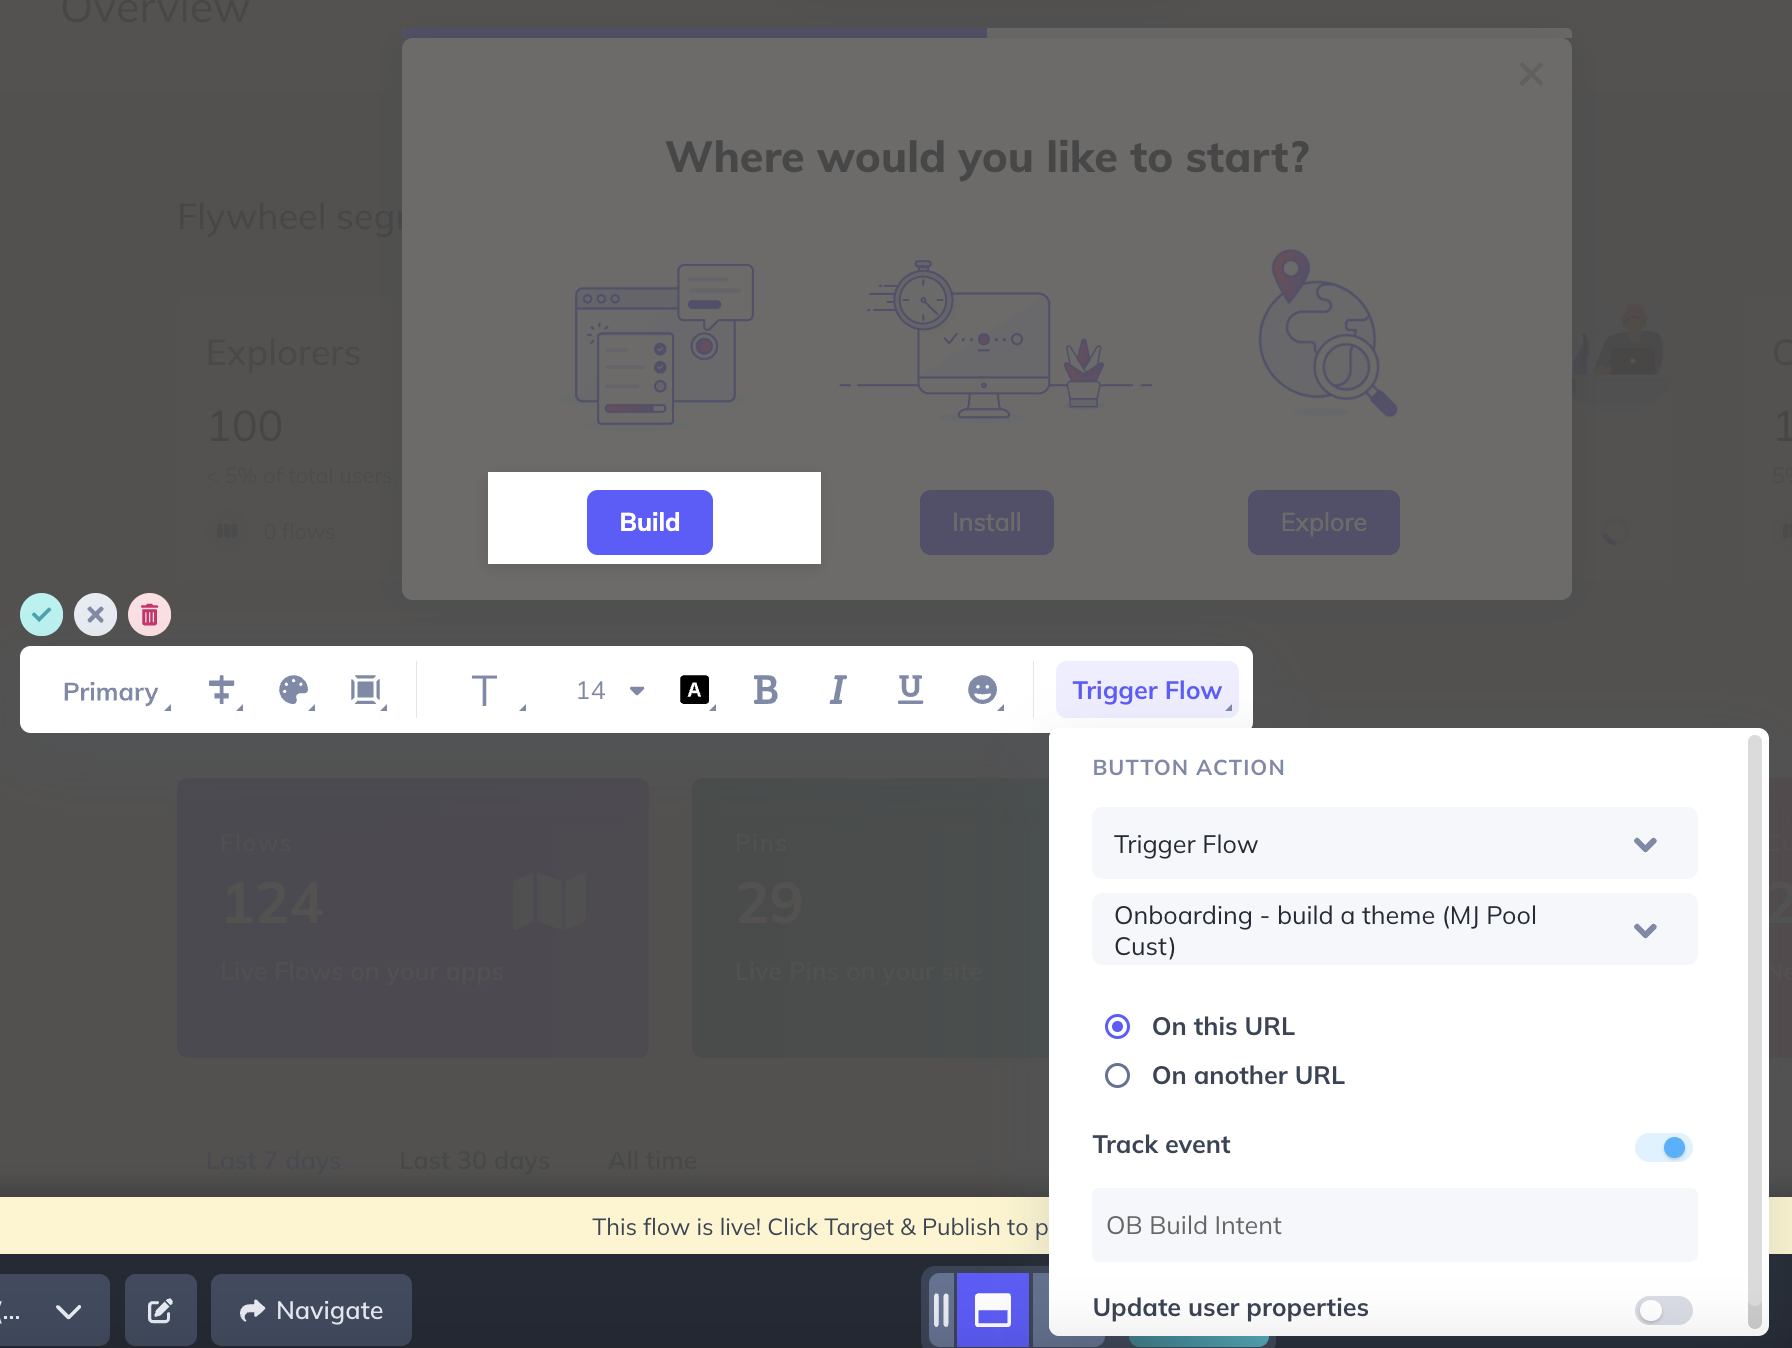
Let's begin by creating the actual content. Open the Appcues Builder on the page you want to start your flow and add a Modal step. In this example, we'll start with a simple question that solicits the user's intent: 'Where would you like to start?' We'll use Header 1 for this block of text.
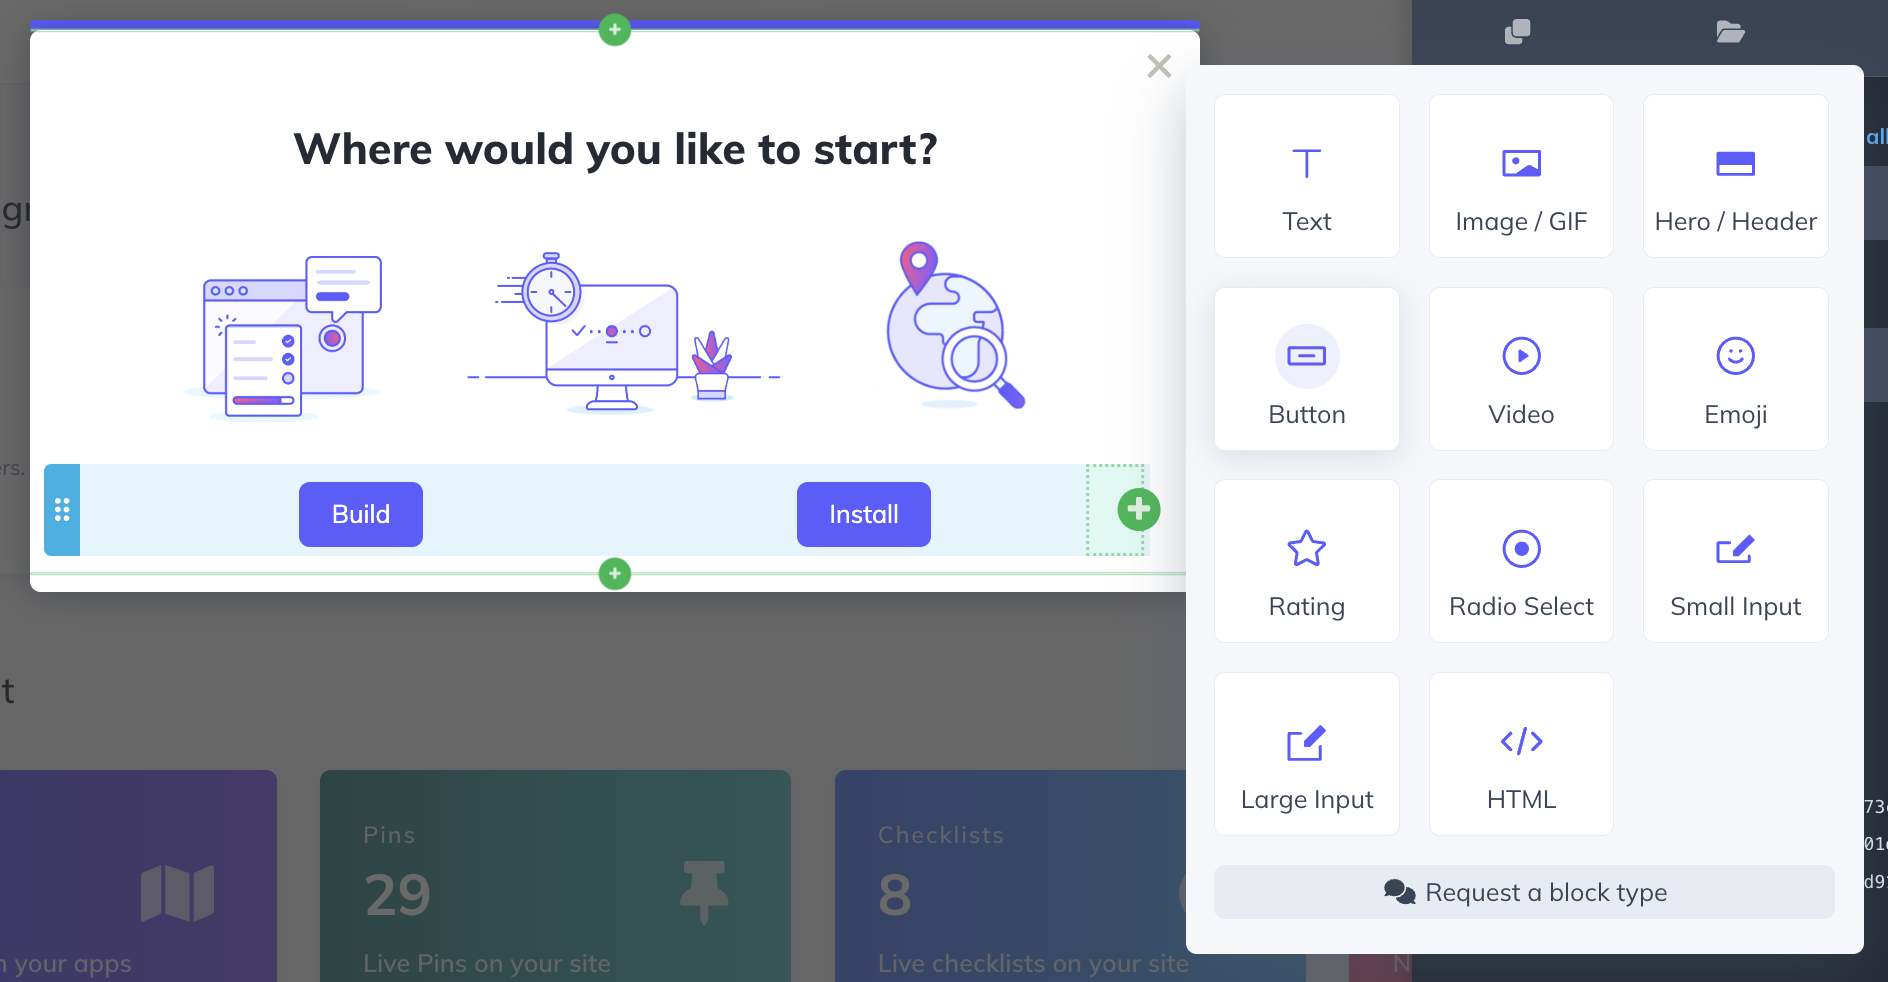
Below, we'll use 3 images that illustrate each of the options, followed by 3 buttons. We'll give the users the option to ‘Build’, ‘Install’ or ‘Explore’.
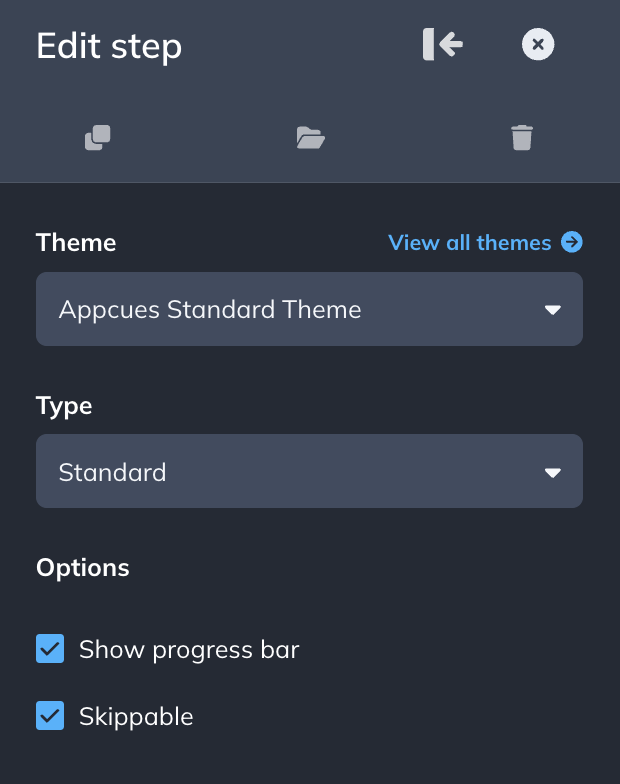
We'll show a progress bar to tell users how long the flow will be and we'll give them a skip option in case they're not interested in seeing the message.
Step 2: Customize the buttons
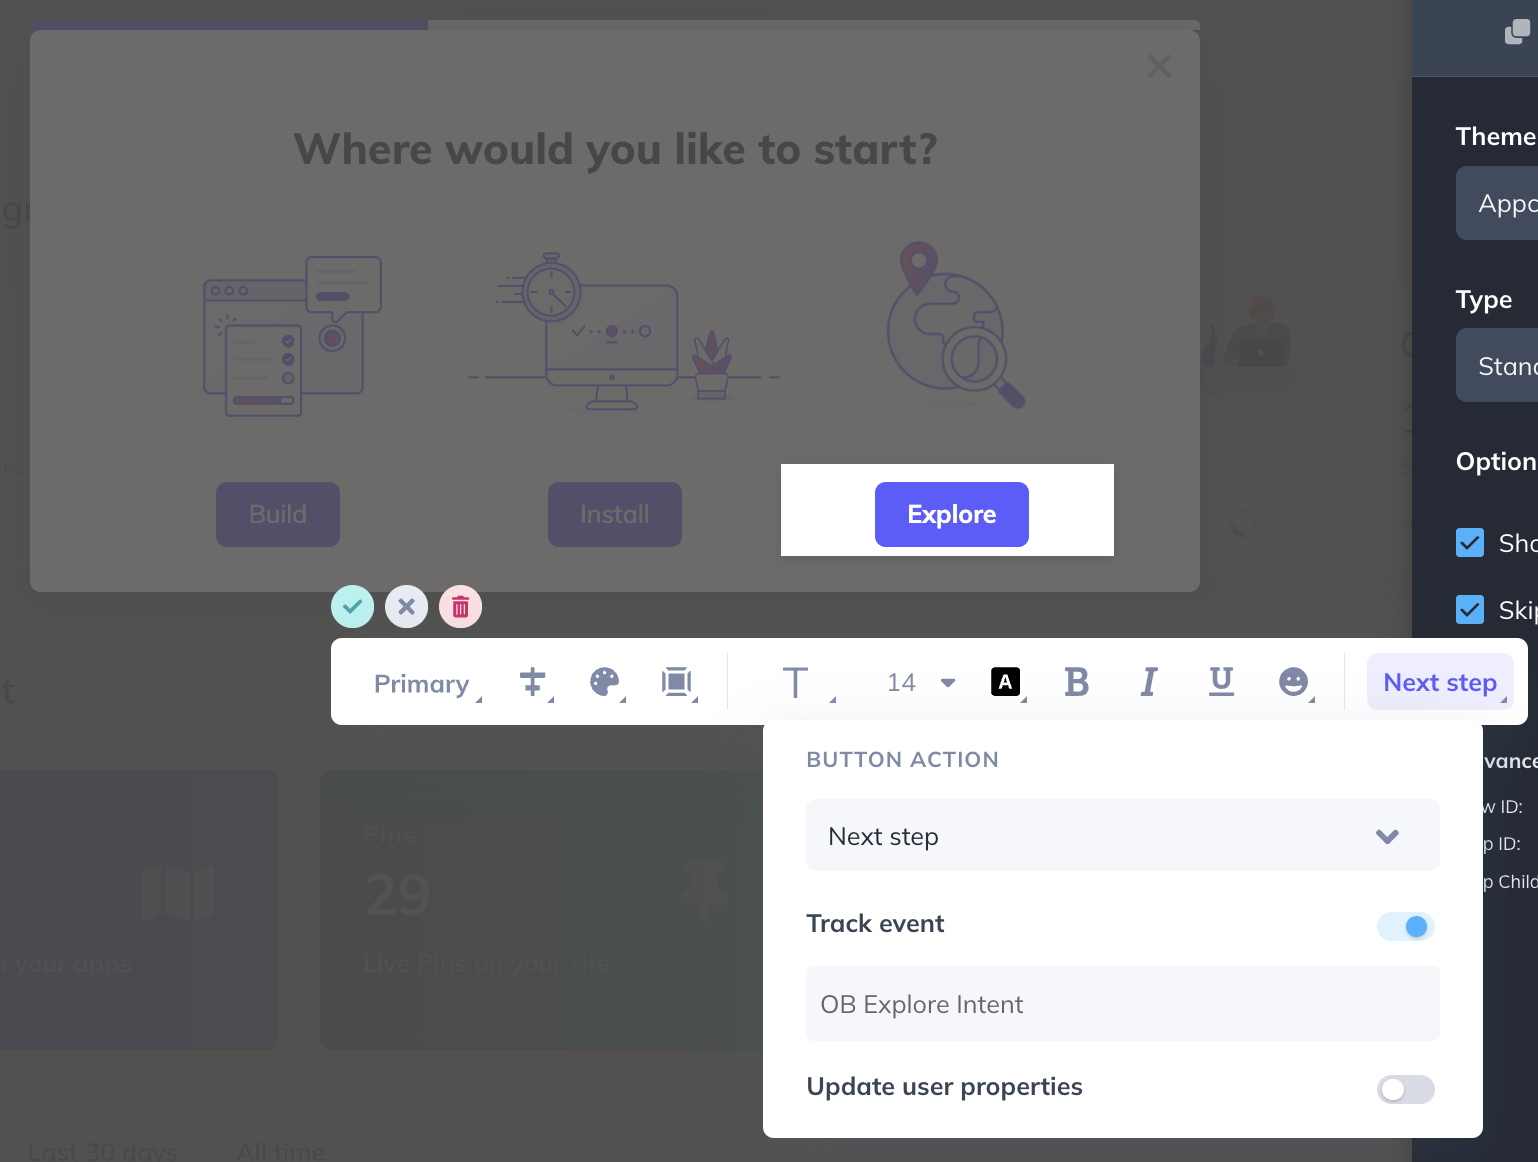
After the 3 buttons are added, we'll customize them with different actions. The first two will trigger flows that will provide additional information and the third button will go to Step 2. We'll also track an event on each of them to collect the interactions and use them to target other flows if we'd like.
Pro tip: create a consistent naming structure (ie, welcome_question_answer) so you know which events are from where in the future.
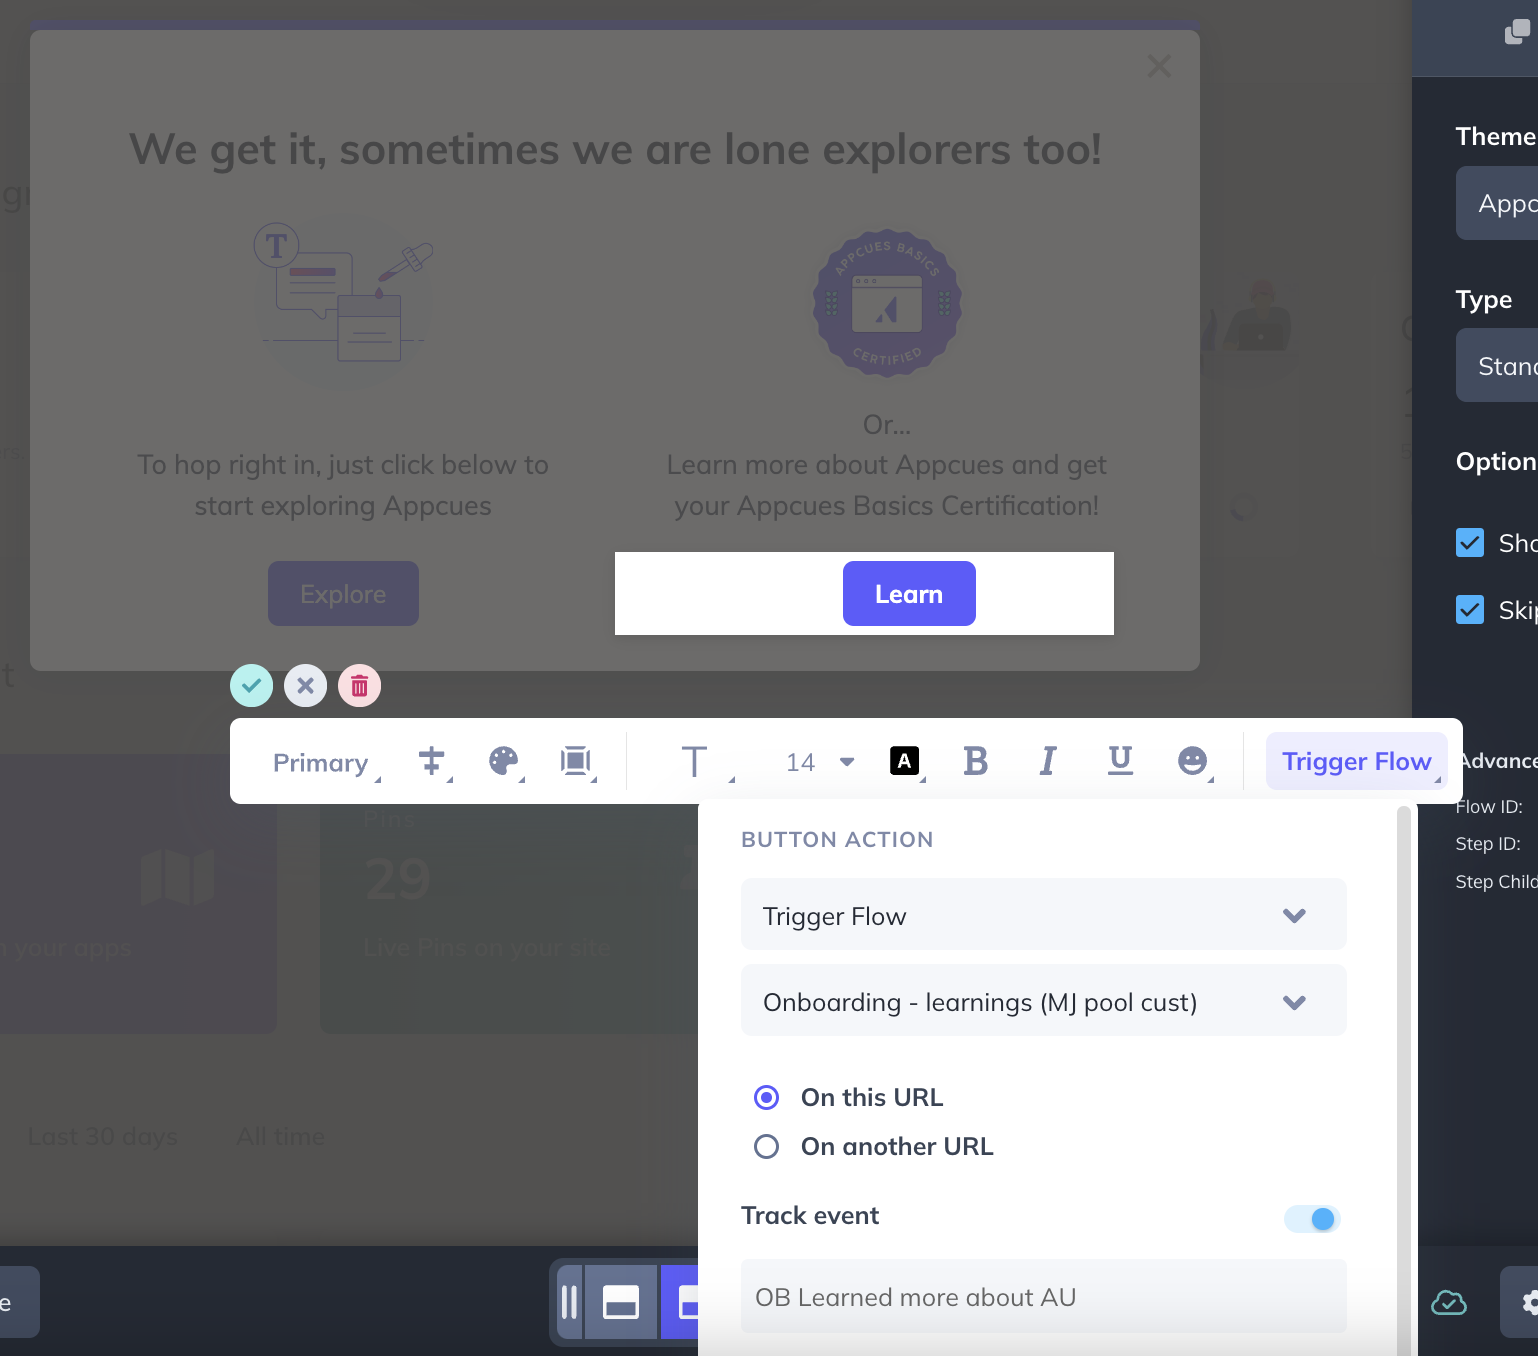
Step 3: Add your second step
The users that choose to ‘Explore’ are taken to Step 2. In this step, we'll also add two different path options. One will be an ‘Explore’ button that dismisses the flow and the other will be a ‘Learn’ option that triggers another flow with more information on where to learn the basics.
Step 4: Target the Flow
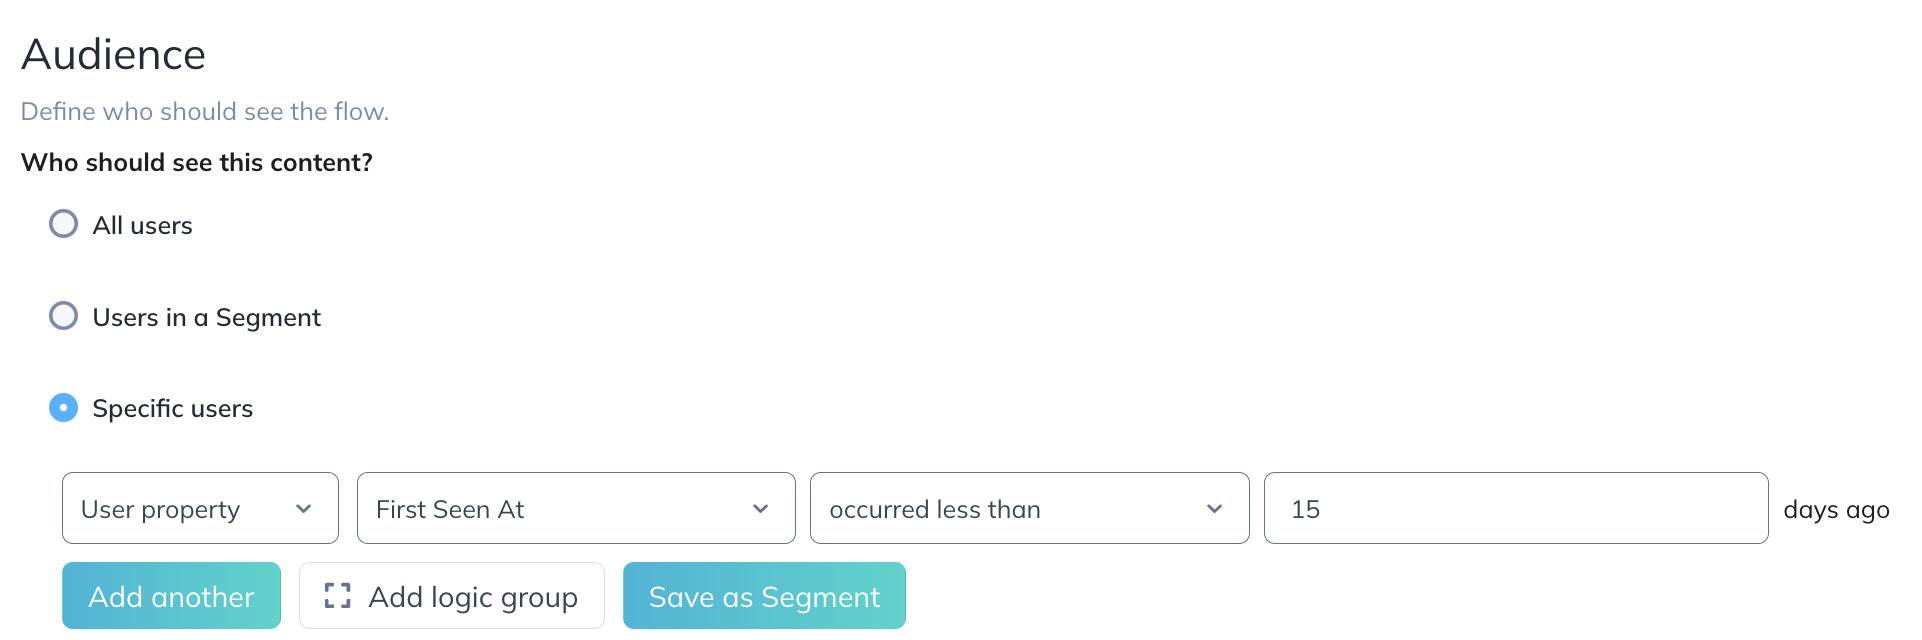
There are two main considerations around which users should see this welcome modal. One, that the user is new, and two, that this welcome modal is seen before any other content you may have created.
To be able to target you'll need the applicable User Properties being sent to Appcues. You can see what you're sending on the "Events and Properties" tab of the Settings section. And recommended User Properties to send are in the User Properties Overview doc.
In this case, to make sure we're only targeting recently created users, we'll use a property called First Seen At and include users created in the last 15 days.
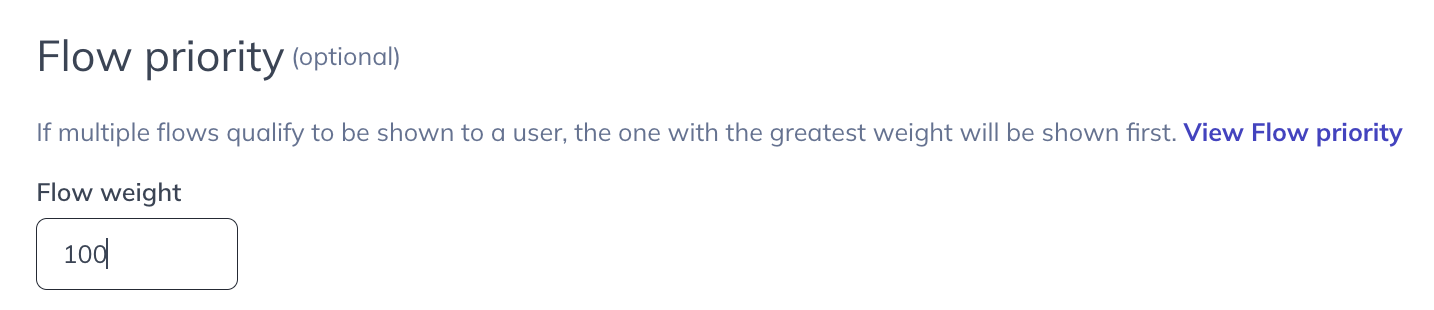
We'll also use flow priority to ensure this is the first content users see when they sign up for the app. The higher the flow weight, the higher the priority.
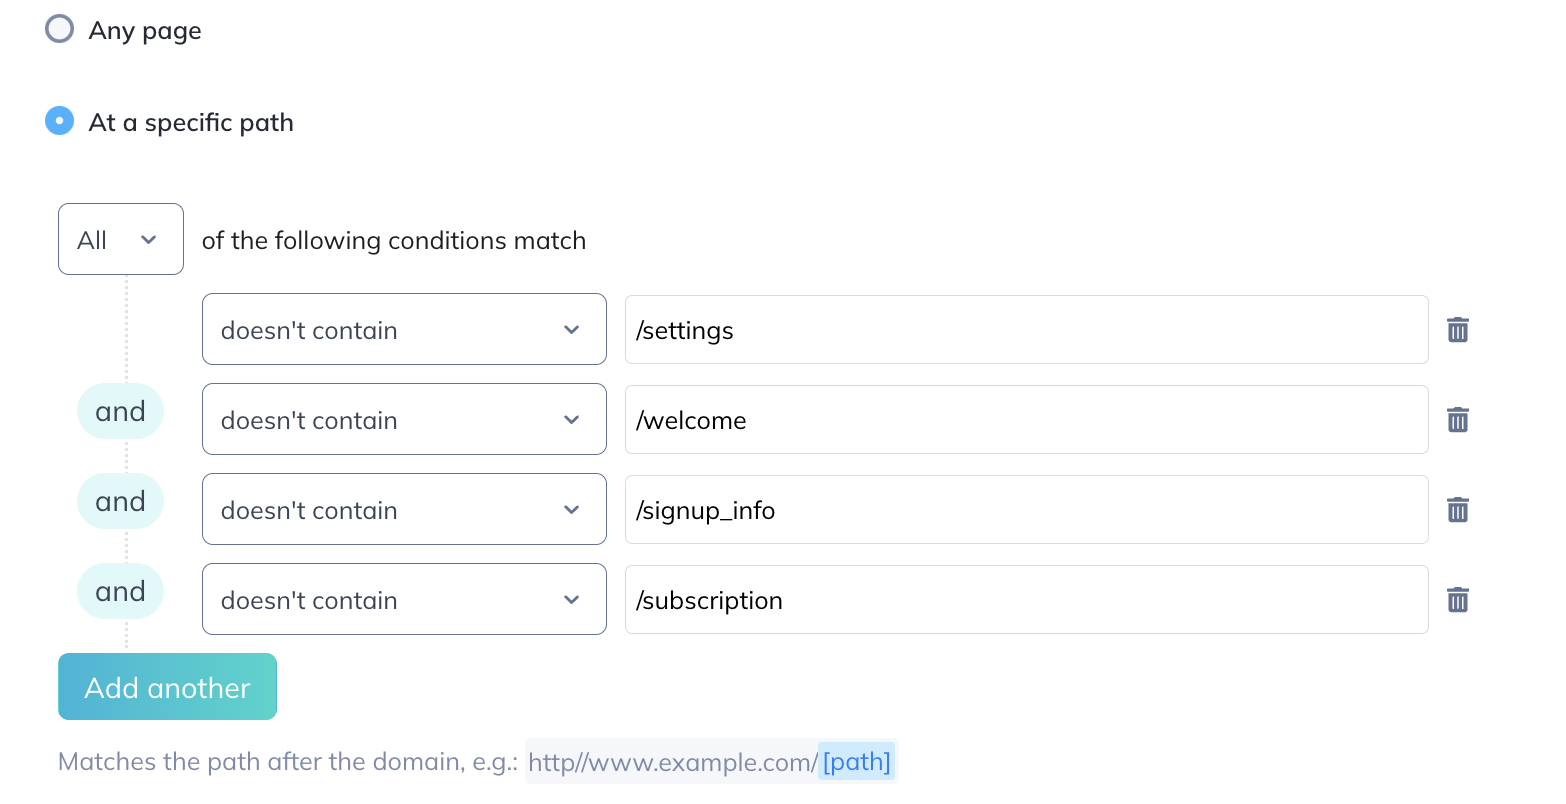
We'll also specify a few pages where we don't want to show this flow and we'll show it once.
To take this to the next level, we can make this flow available to be triggered later by the user in case they want to retake it. Our guide Relaunch Onboarding Tour with a Button Pin explains how to do this.