Submit Article Requests

Do you have a suggestion for an article you would like to see created?
Feel free to submit this form and add your suggestions to our document board.

Please fill out the contact form below and we will reply as soon as possible.

  • Appcues Certifications & Training
  • Contact Us
  • Home
  • User Experiences
  • Use Cases

Build Guide - Welcome Message (linear)

Updated at December 23rd, 2022

Submit Article Requests

Do you have a suggestion for an article you would like to see created?
Feel free to submit this form and add your suggestions to our document board.

Please fill out the contact form with the details about the help content you'd like to see.

  • Installation & Developers
    Installing Appcues Installing Appcues Mobile API & Data Troubleshooting Extras
  • User Experiences
    Web Experiences Building Web Experiences Building Mobile Experiences Customization & Styling Targeting Studio Troubleshooting Use Cases FAQ
  • Mobile
    Installation & Overview Building Mobile Experiences Mobile Analytics Troubleshooting Mobile Use Cases
  • Account Management
    Subscription Users & Data
  • Analytics
    Experience and Event Analytics Data
  • Best Practices
    Use Cases Pro Tips PLG FAQ
  • Integrations
    Integration Documents Use Cases Resources
  • Post-mortem
    System Incidents
+ More

Table of Contents

Building the modal First, launch the Appcues Builder to create a new flow Create a Modal step Edit the Call to Action (CTA) button Setting a Theme Targeting the correct users New user targeting Show the welcome modal first

A welcome message is an easy way to get started with Appcues and will have a great impact on a new user's perception of your application right from the start. Why? A welcome message:

  • Is a way of introducing the human side of your product and lets users know you appreciate their business
  • Sets the stage for more content to come (maybe immediately)
  • Can expedite users completing tasks toward “activation”

The following video walks through building a welcome message, and a text walkthrough is below:

Let's walk through building a simple welcome message. We'll cover:

  • Building the modal
  • Setting the Theme
  • Targeting the correct users

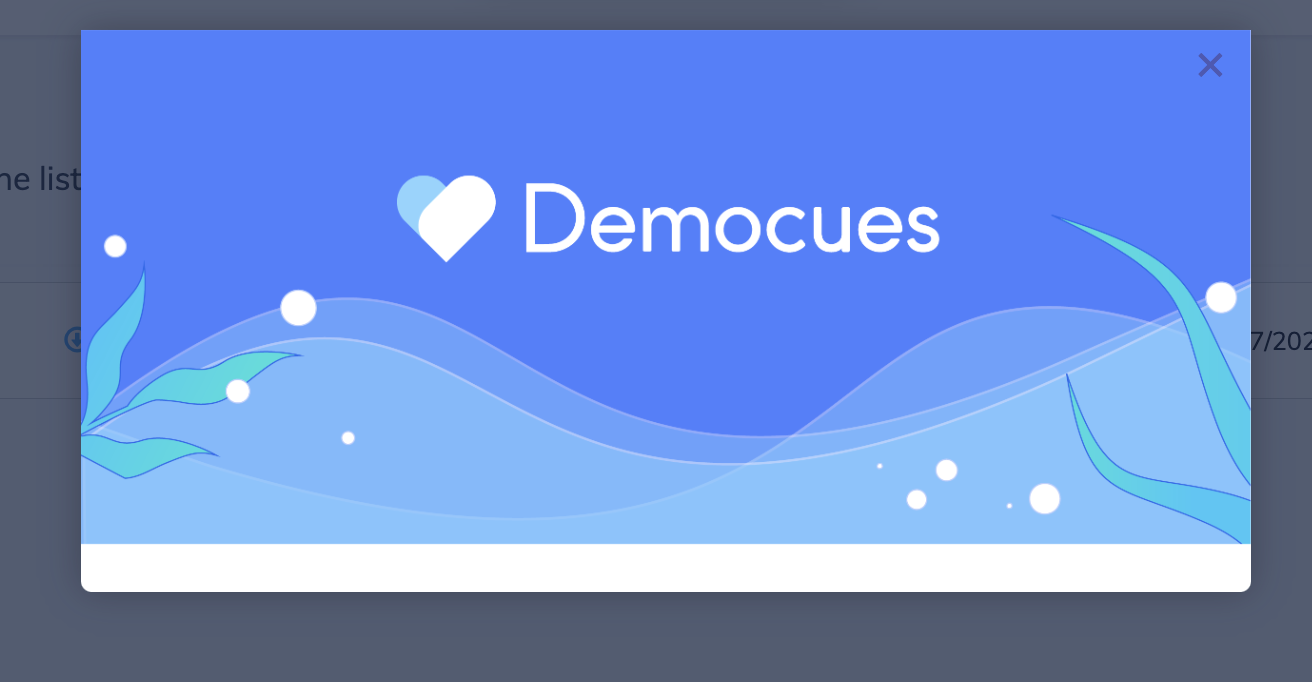
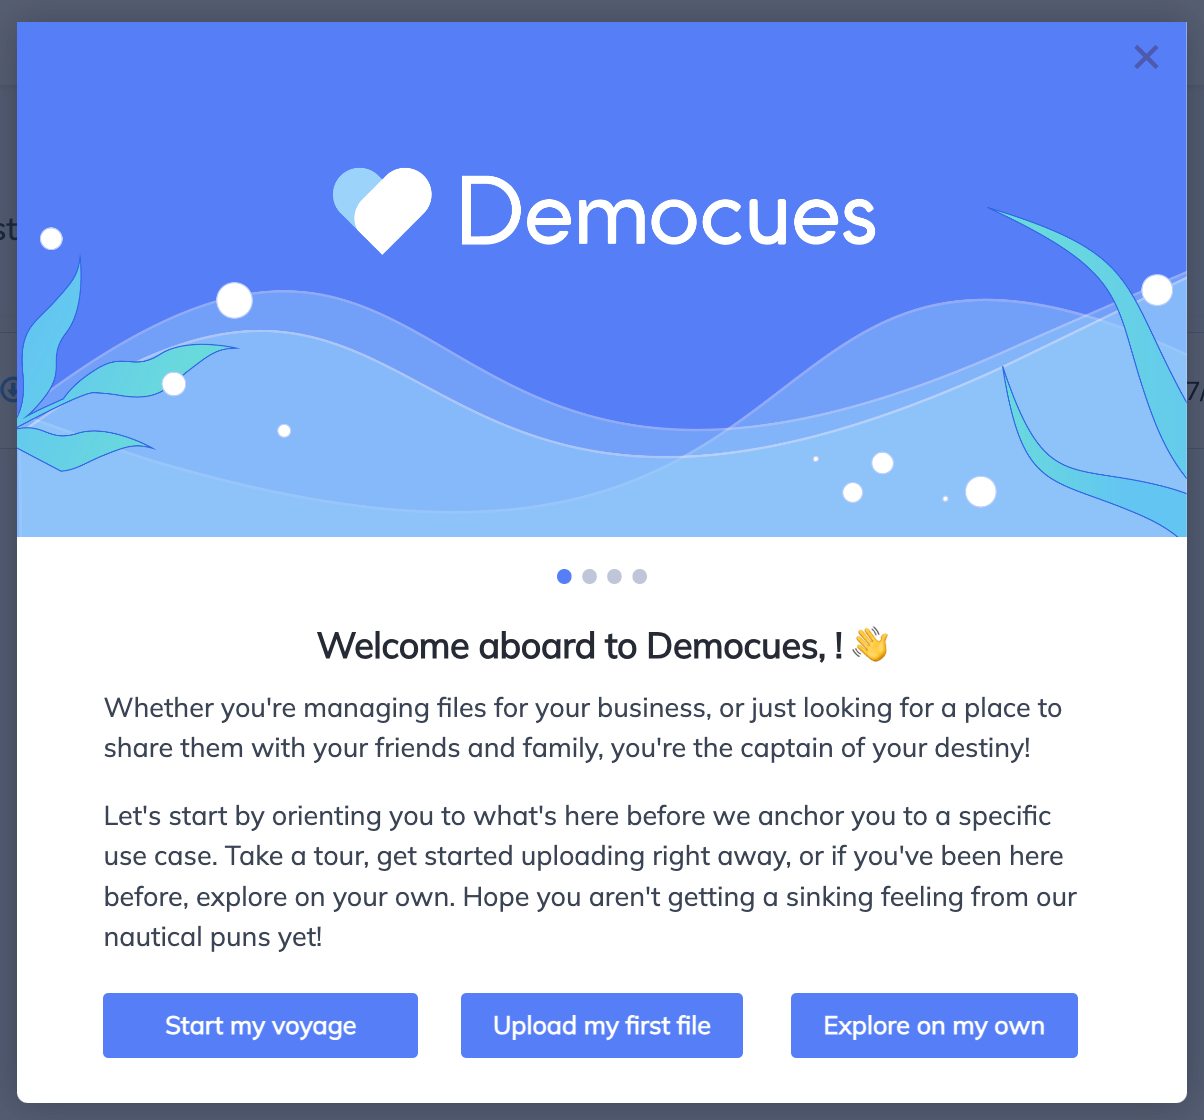
The final product of your modal will look something like this when we're done:
Building the modal

Let's begin by creating the actual content.

First, launch the Appcues Builder to create a new flow

There are multiple ways to create a new flow, one is from the flows page in your dashboard by clicking the green Create a Flow button:

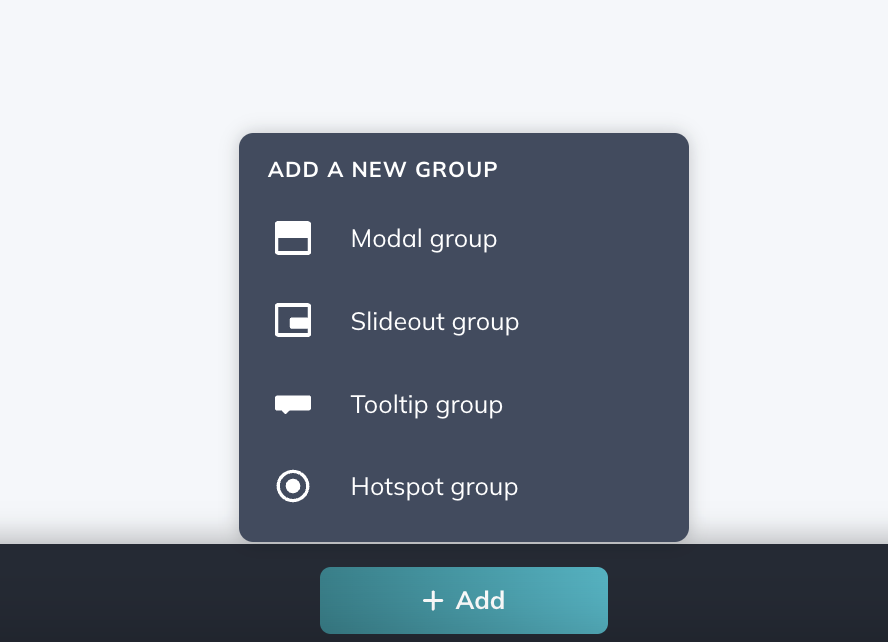
Create a Modal step

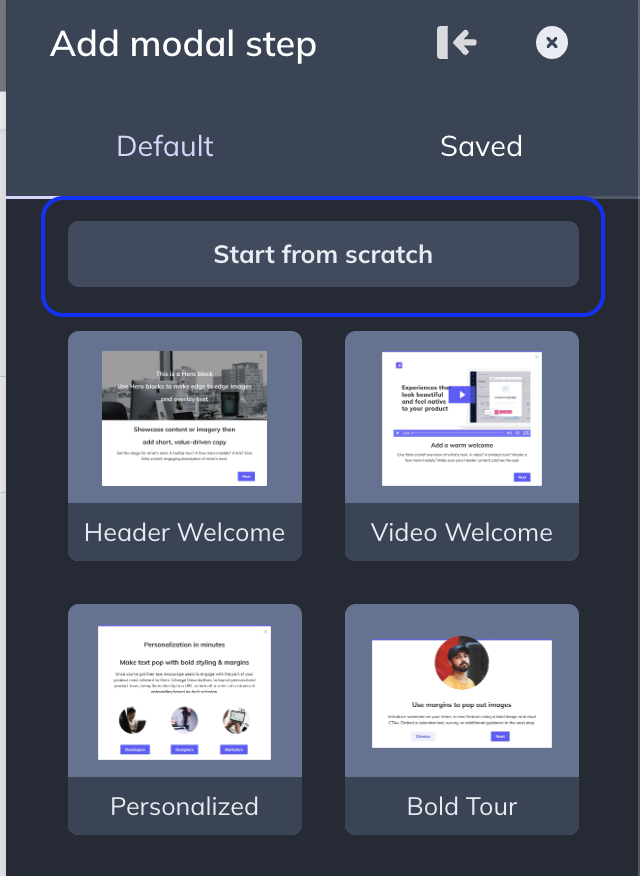
Once in the Appcues Builder, start by creating a Modal. We have a prebuilt "Welcome" modal you can use:

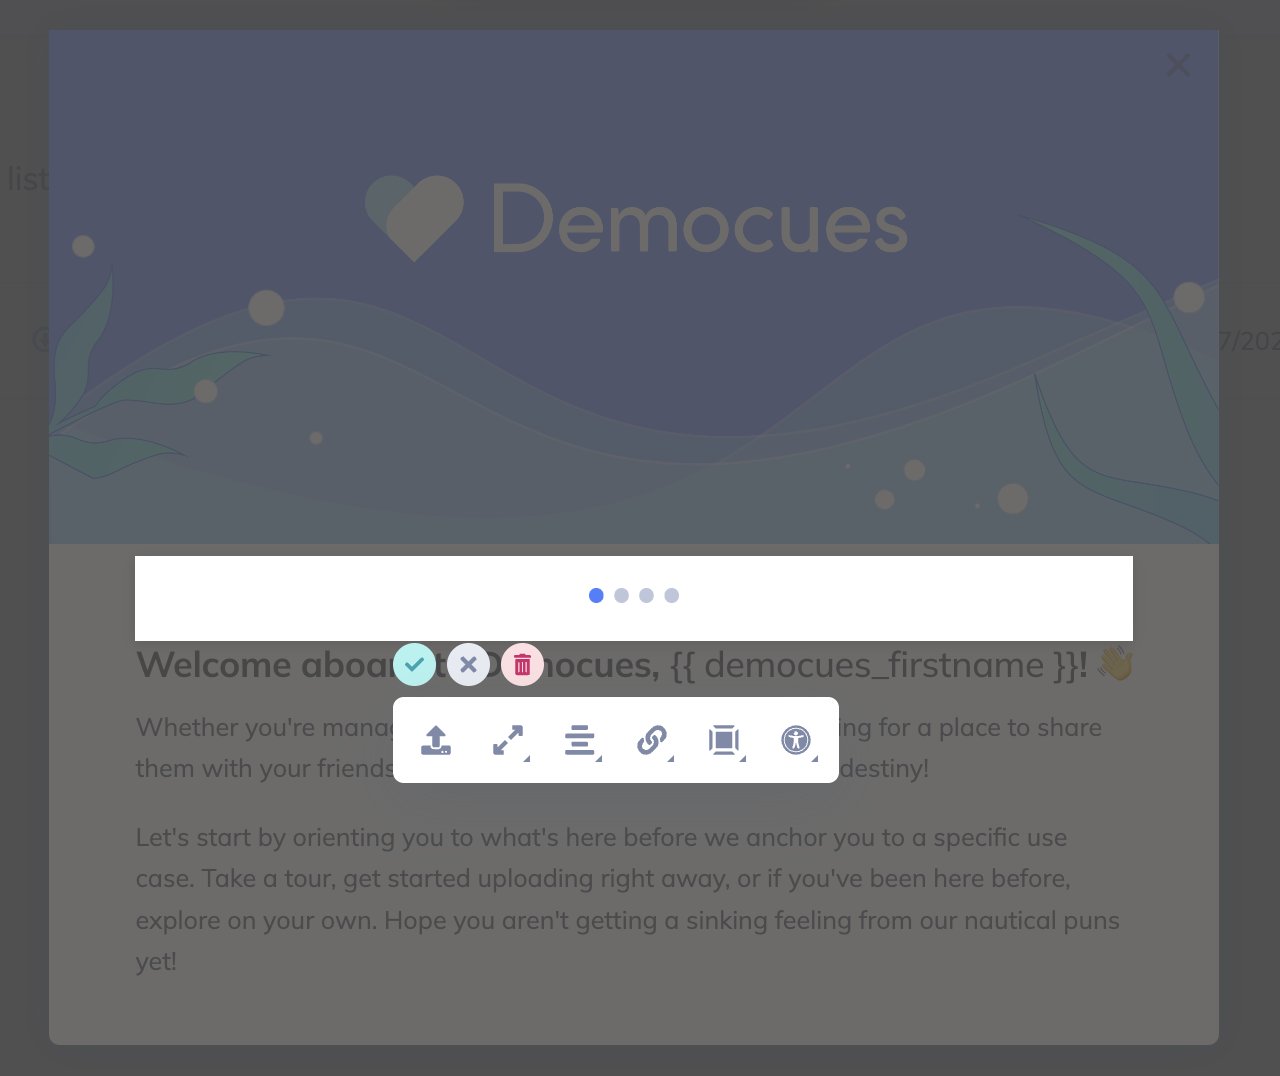
Add or edit a logo or person image

A logo works great, or if you have a person as an introduction (like a CEO or a Customer Success Manager) that works well, too.

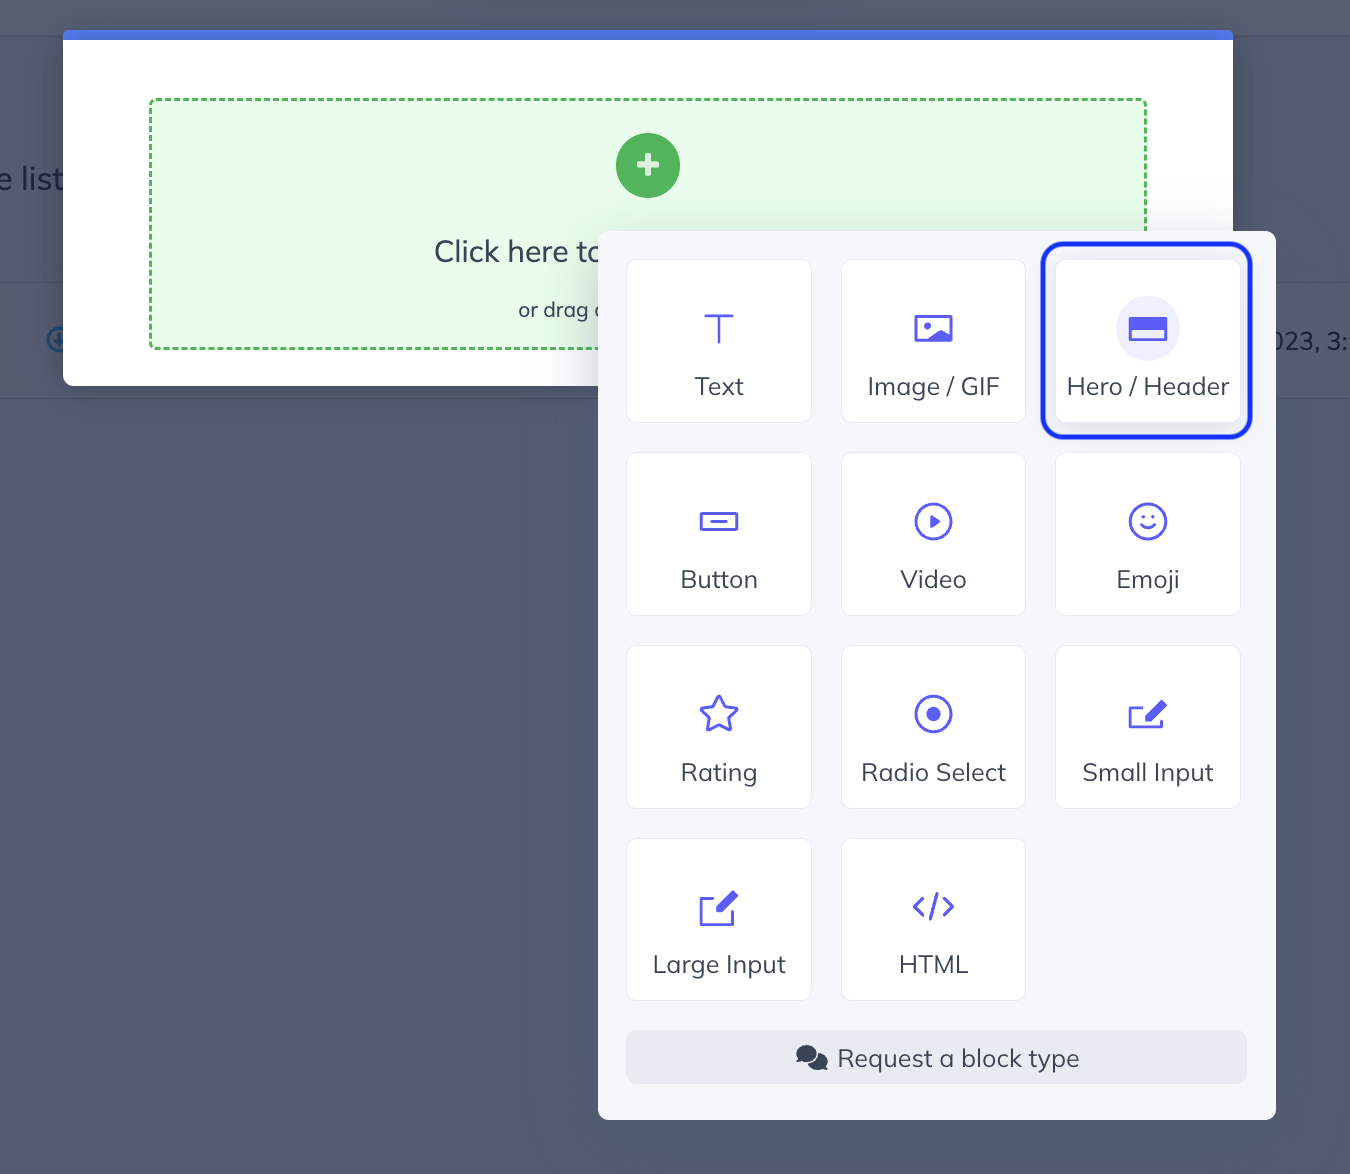
Add a logo image using the green " + ":

Or, click on the image from the template and replace it:

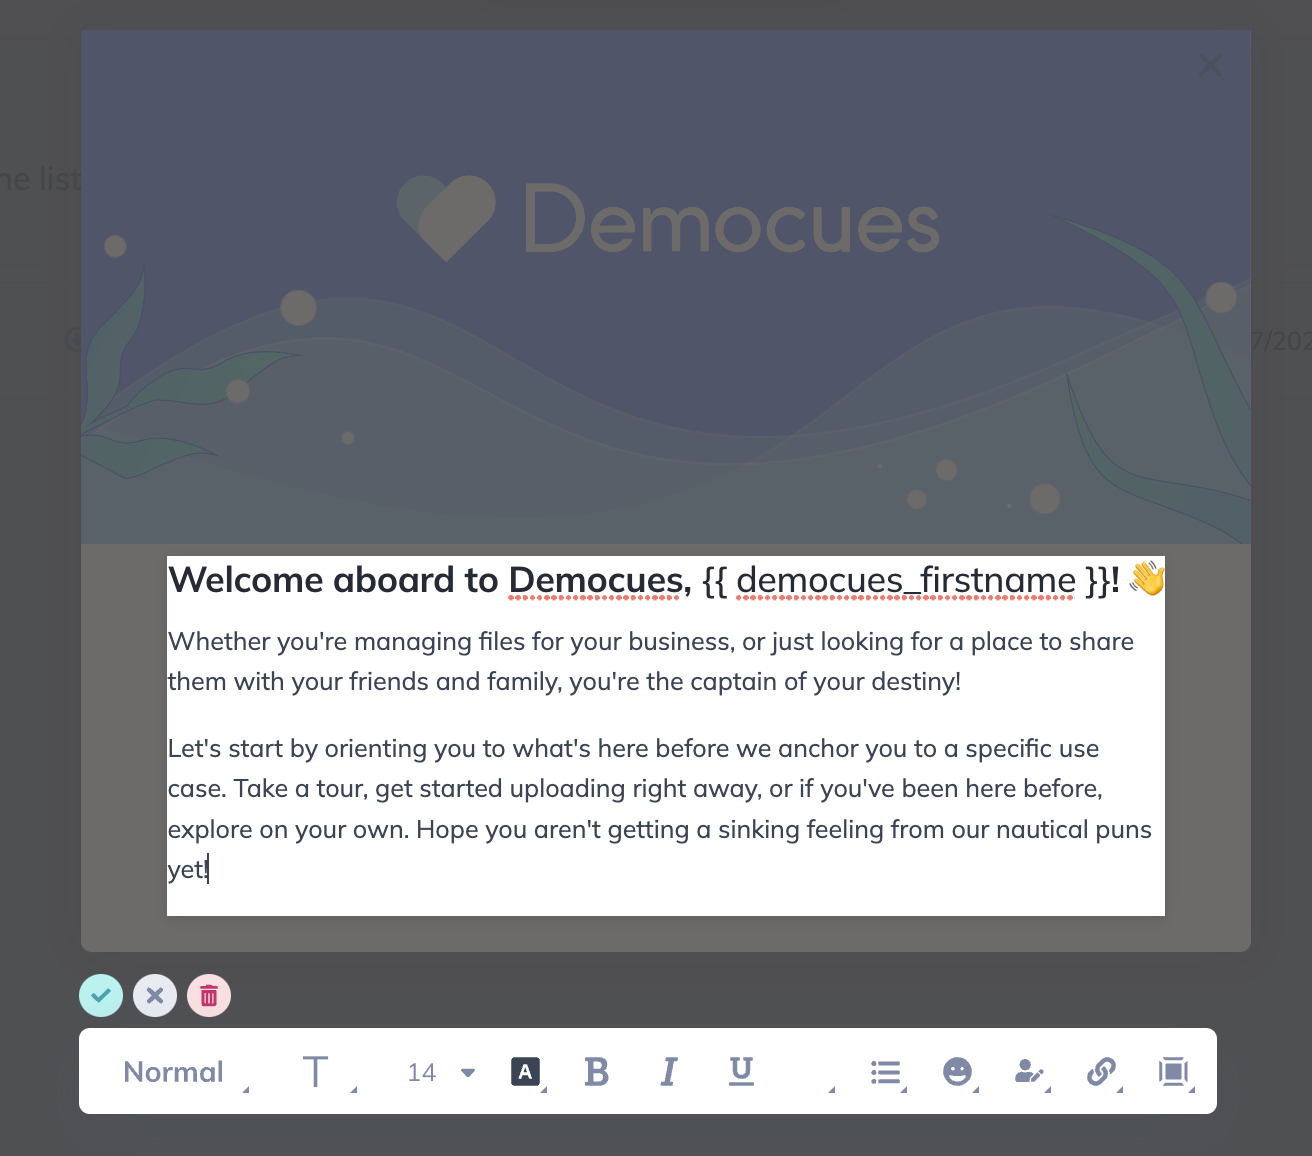
Add welcome text

Add a headline and some welcome text. The latter can be a reiteration of your mission or an explanation of what's to come after this welcome message.

Use a "Header 1" size from the "Aa" dropdown for the headline.

Personalize the flow with the user's "First Name" by using the person icon. If you're not sending Appcues a "First Name" field, see the  User Properties Overview to learn how to start.

Click the same green "+" button to add paragraph text and use the "normal" option for size. 

Edit the Call to Action (CTA) button

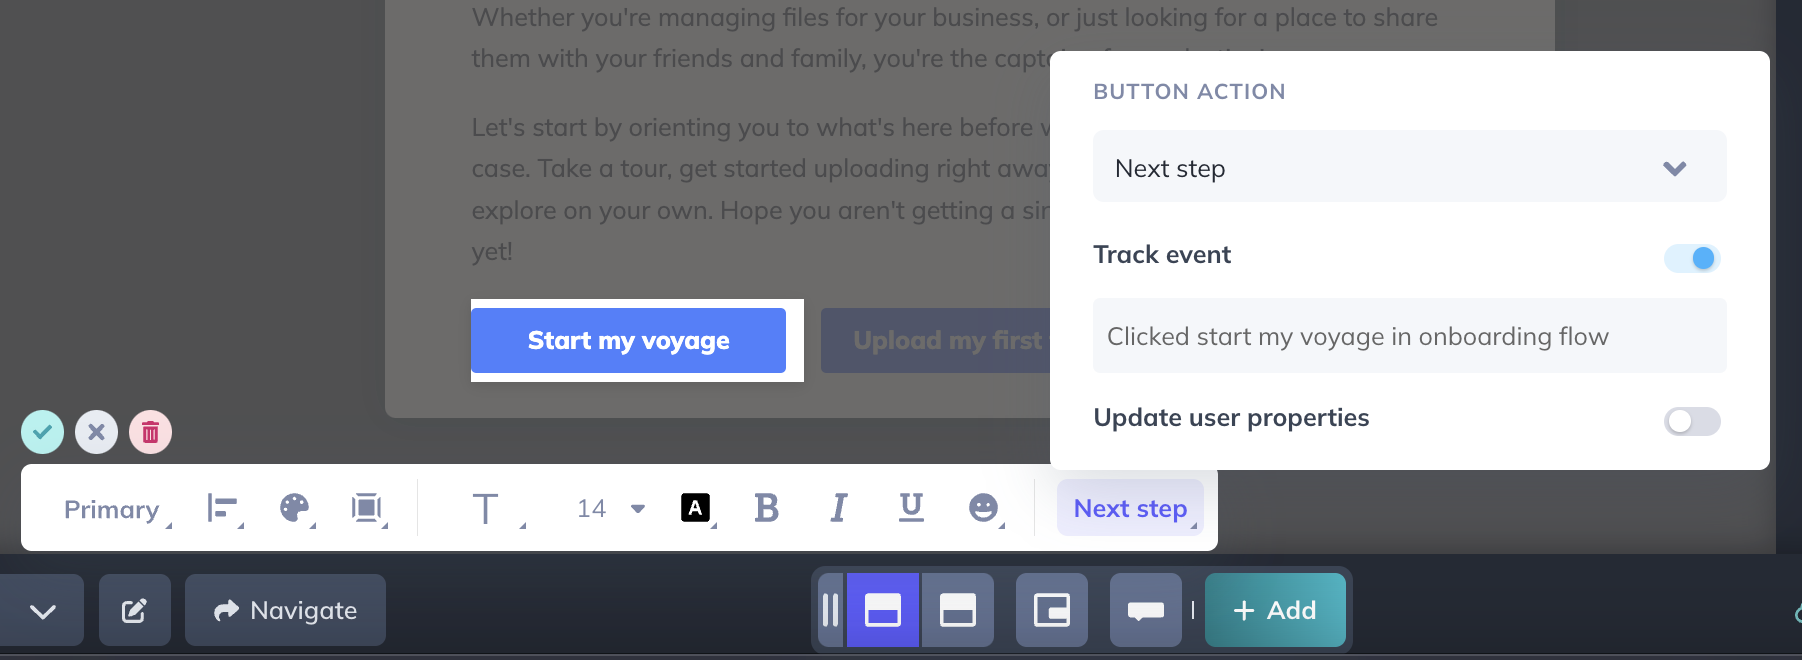
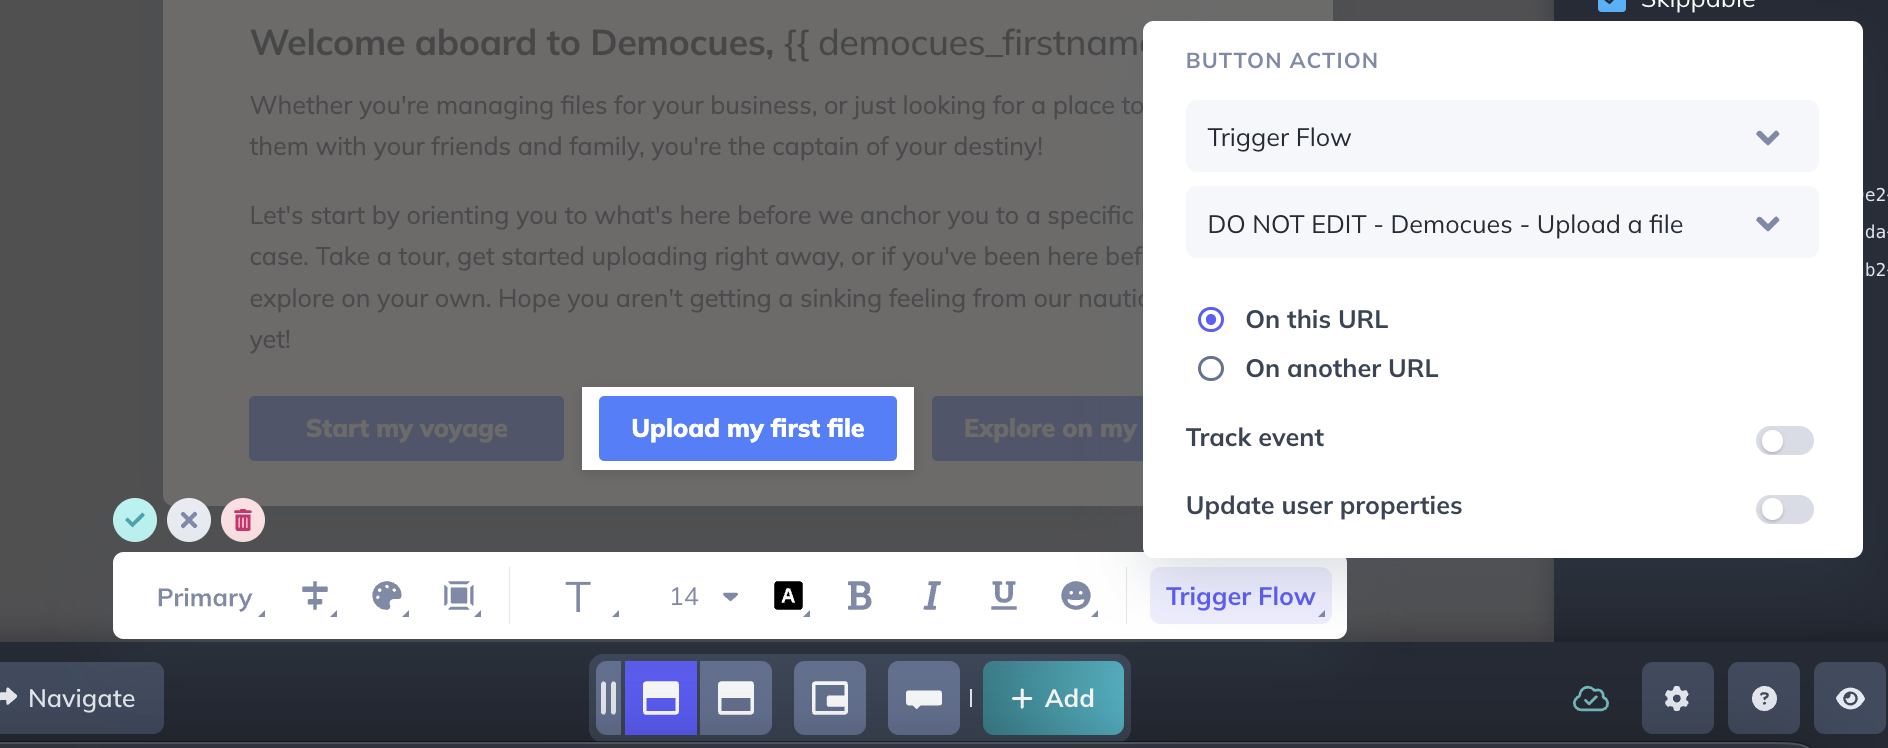
We're going to trigger a product tour once the user clicks "Tell me more", here's how.

Change the text of the button by clicking right on the button, highlighting the text, and changing it:

Select "Target & Publish" in the lower right corner: 

Scroll to the bottom of the pop-up window, select to "Trigger Appcues content", and choose your product tour:

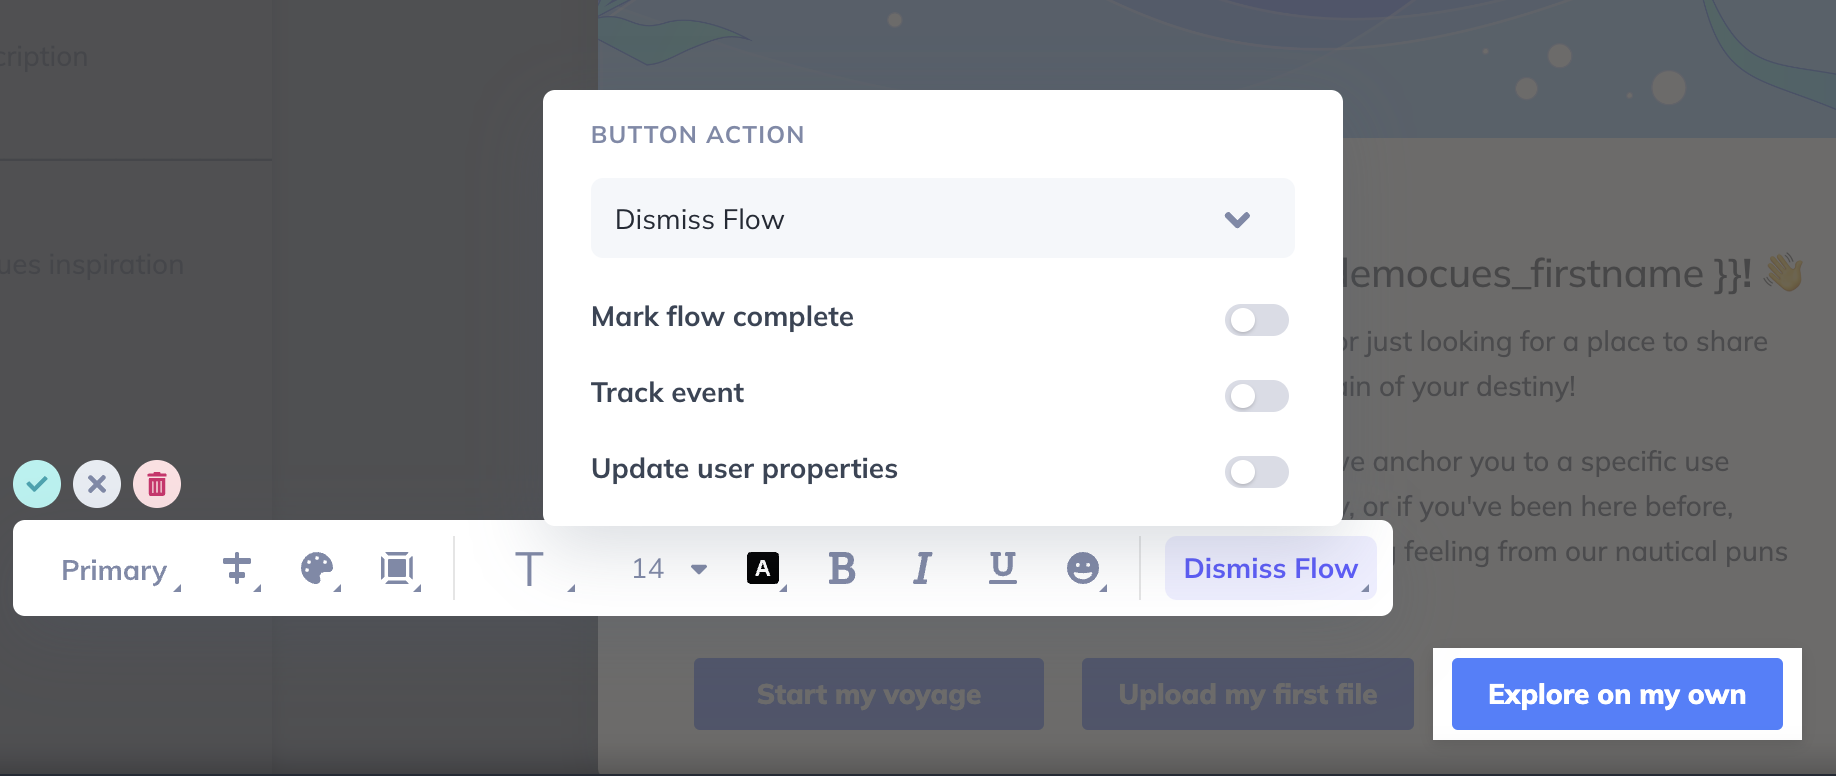
If you haven't built the tour yet, don't fret! Simply don't select the "Trigger Appcues content" option and change the button text to something like "Let's get started". The welcome message will simply close and the user will enter your application. You can build your tour and add it later.

Here's a Product Tour example you can use to get started.

Good work! You're ready to make sure your Theme is set correctly and target the proper users. Read on!

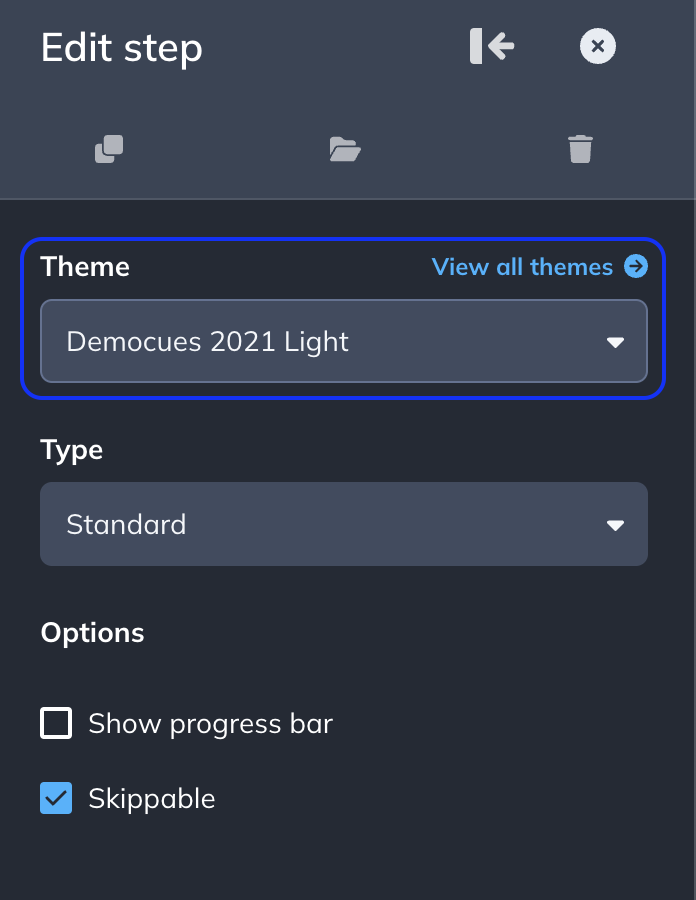
Setting a Theme

See the Theme Overview doc if you haven't already set a theme for your Appcues content.

If you have a Theme you're ready to use, make sure this modal is using it:

Targeting the correct users

There are two main considerations around which users should see this welcome modal. One, that the user is actually a new user and, two, that this welcome modal is seen before any other content you may have created.

To be able to target you'll need the applicable User Properties being sent to Appcues. You can see what you're sending on the "Events and Properties" tab of the Settings section. And recommended User Properties to send are in the User Properties Overview doc.

New user targeting

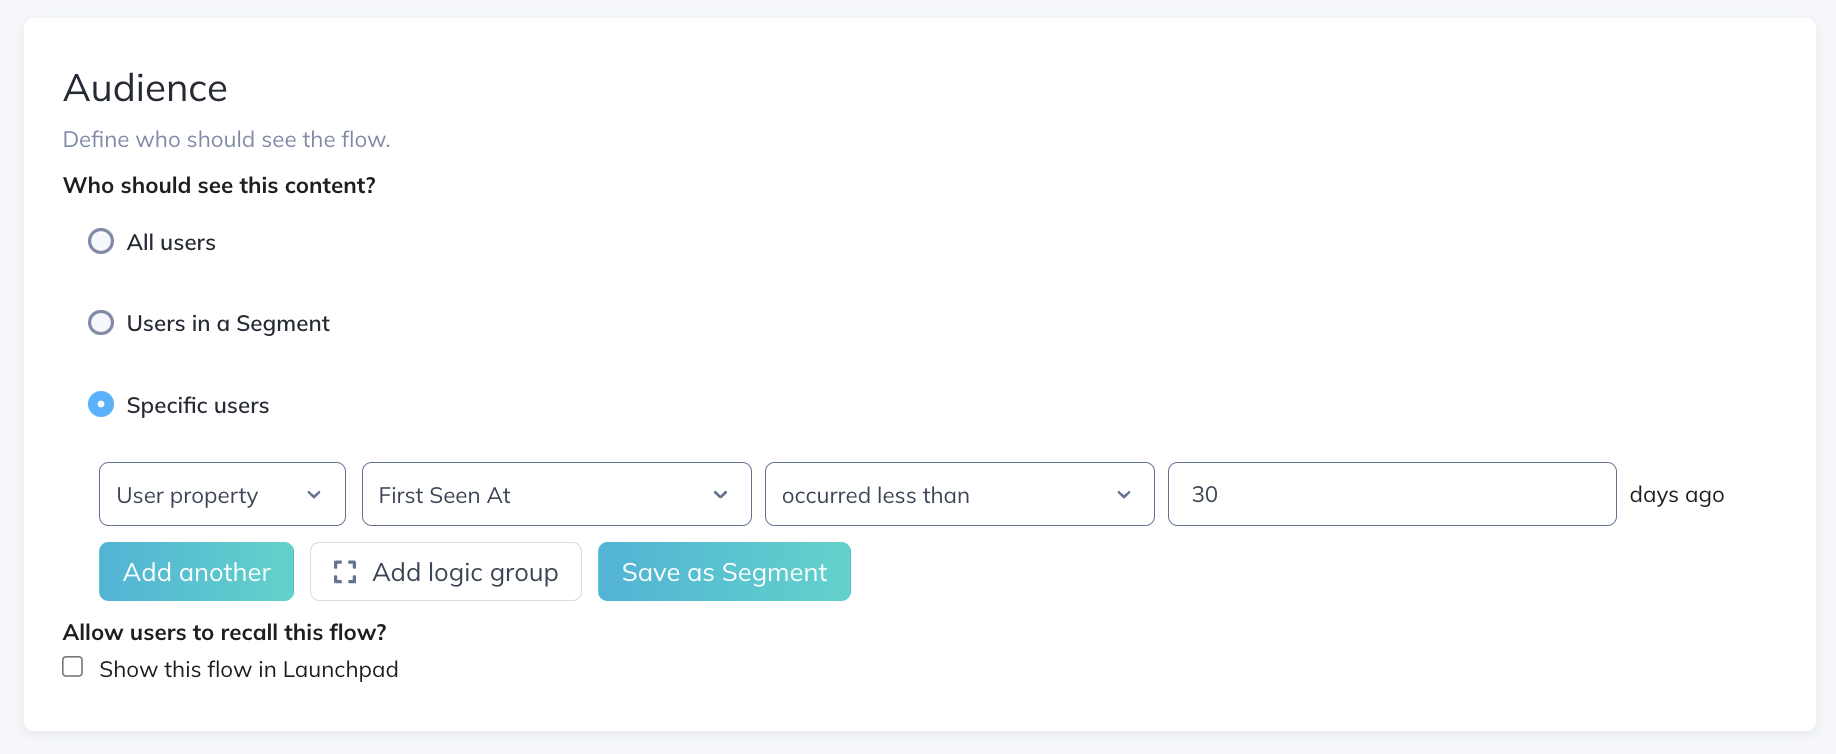
The targeting measure is mainly to ensure your existing users don't see your welcome modal. In settings (either in Target & Publish from before or in the Web Dashboard), select the "created at" (or whatever name your team gave the property) and set the date to the day you will set the modal live.

This will ensure only users who sign up after 12/10/2018 will see the modal. ie, no one would see this until 12/11/2018 in their timezone.

Show the welcome modal first

To accomplish this you'll set your other flows to only show if the user has seen this welcome modal. You can do that specifically in the targeting of the other flows by adding a rule: 

Or by creating a Segment and adding the Segment to the other flows.

That's it!

When you're ready you can use Test Mode to see what your modal will look like and publish your flow when you're ready. And remember, you don't need to wait to build all the content you're hoping to build to set this flow live; and you can always iterate on each flow once you know how your users are interacting with them.

Was this article helpful?

Yes
No
Give feedback about this article

Related Articles

  • NPS Overview
  • Targeting Flows
  • Forms & Surveys
  • Customizing Hotspots & Tooltips (CSS)
Appcues logo

Product

Why Appcues
How it works
Integrations
Security
Pricing
What's new

Use cases

User Onboarding Software
Feature Adoption Software
NPS & Surveys
Announcements
Insights
Mobile Adoption

Company

About
Careers
we're Hiring

Support

Developer Docs
Contact

Resources

The Appcues Blog
Product Adoption Academy
GoodUX
Case studies
Webinar Series
Made with Appcues
Appcues University

Follow us

Facebook iconTwitter icon greyLinkedin iconInstagram icon
© 2022 Appcues. All rights reserved.
SecurityTerms of ServicePrivacy Policy
Expand