Build a Tooltip Flow
Walk through building a single-screen Flow with anchored Tooltips.
Table of Contents
Create a Tooltip Flow on a Single Screen
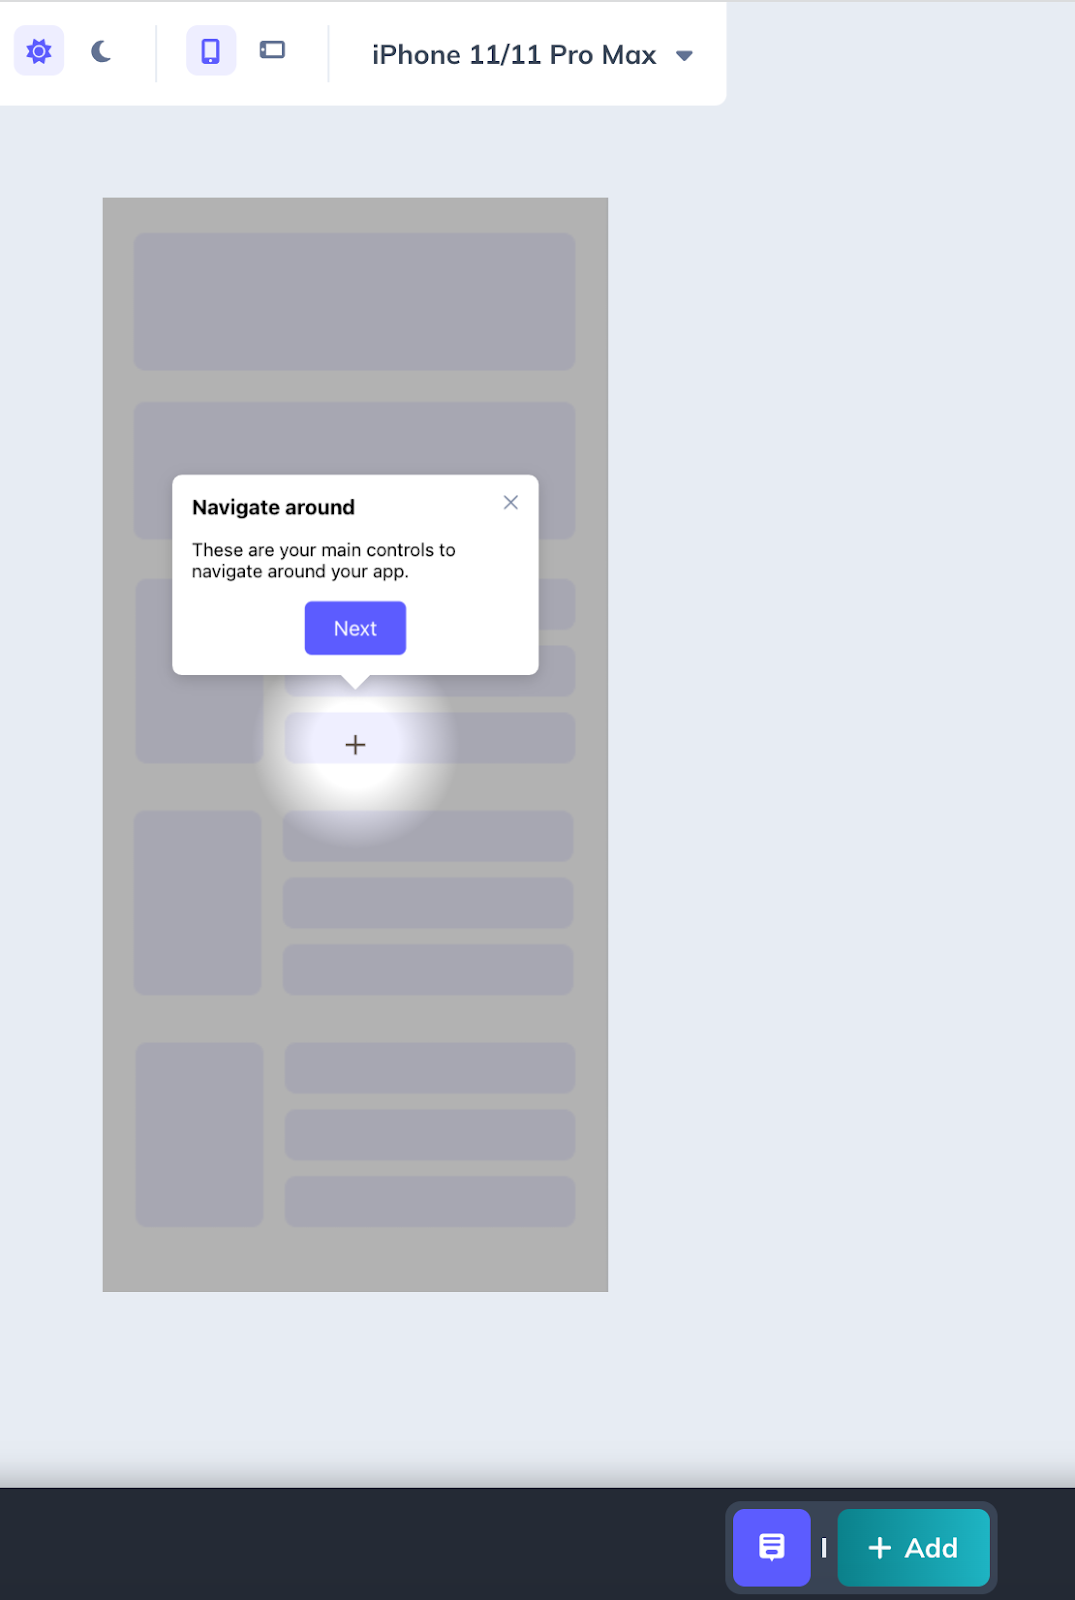
Step 1: Create an anchored tooltip and update the contents
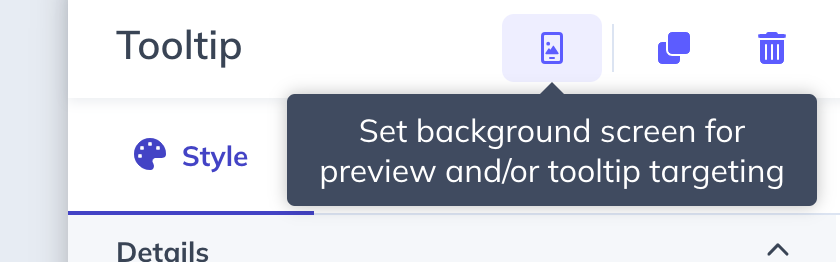
Step 2: Add a screenshot as background
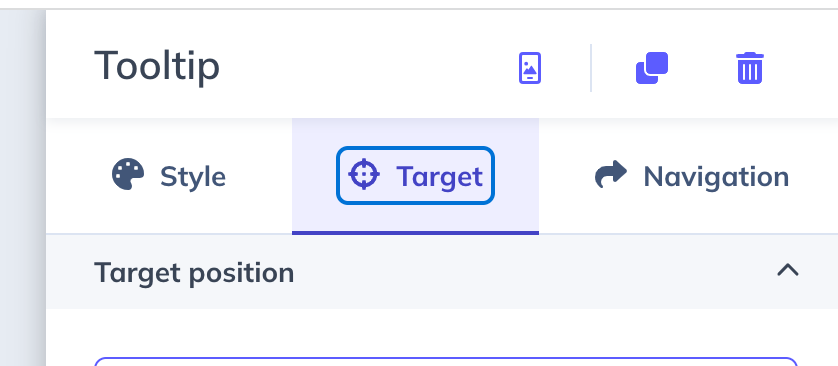
Step 3: Select the "Target" tab
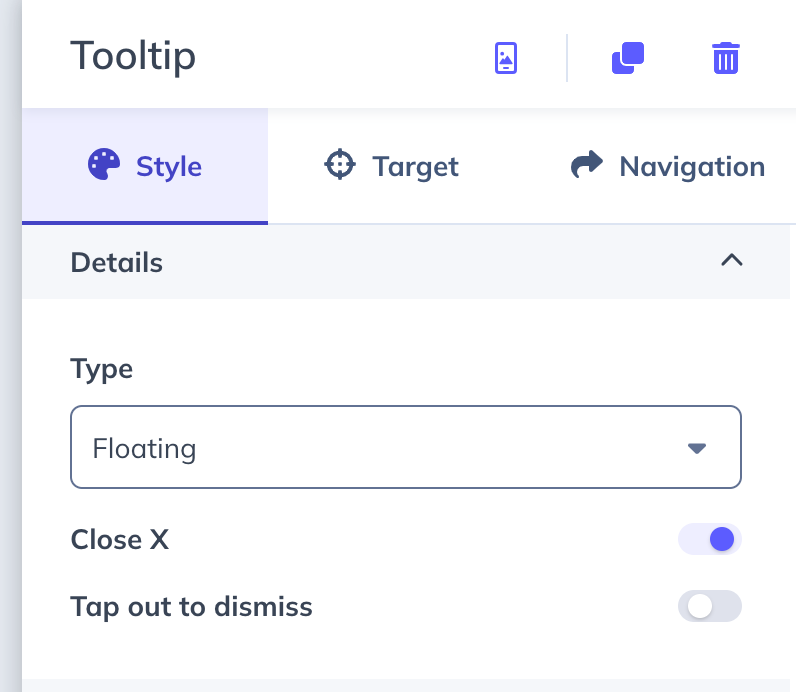
Step 4: Configure dismiss options
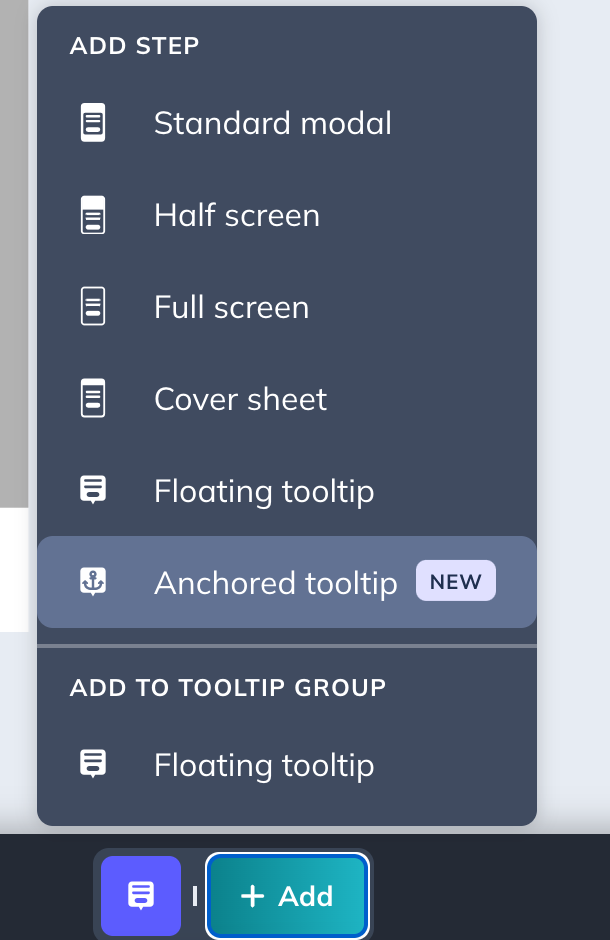
Step 5: Select “Add” and select the “Anchored tooltip” option.
Build a Mobile Flow Across Screens
Build a mobile Flow on a single screen using anchored Tooltips to point out elements in your app. For what each Tooltip type does and all styling options, see Mobile Tooltips.
Prerequisites
- Appcues installed in your app with screen tracking and deep links. See Installing Appcues in Mobile Applications.
- Targetable elements set up so anchored Tooltips can find them. See Mobile Tooltips for the troubleshooting steps.
Steps
- Create an anchored Tooltip and update its content.
- Click the screenshot icon and select a screenshot to use as the background — capture one with Mobile Screen Capture. This makes it easier to target the Tooltip.
- Click the Target tab, then Adjust target placement to enter targeting mode. Use the highlight controls to place the highlight over the element you want to call out.
- Click the Style tab and turn off Tap out to dismiss so users don't exit the Flow by accident.
- Click Add and choose Anchored tooltip to add a second step. Select the same screenshot, click Adjust target placement, and target another element.
Confirm it worked
- Preview the Flow. Each Tooltip appears anchored to the element you targeted.
- Tapping a Tooltip's button advances to the next step; tapping outside does nothing (because you turned off Tap out to dismiss).
If a Tooltip isn't anchoring
- Confirm the screenshot you selected matches the screen the element is on.
- If no elements are selectable, your app may not expose them yet. See Mobile Tooltips for the troubleshooting steps.