Create a Flow
Learn how to create a Flow with Appcues
Table of Contents
This article will walk you through the basics of building web flows in Appcues, for mobile flows see Building Mobile Flows.
How to create a Flow
Once you have downloaded the Appcues Chrome Extension, you’re ready to create your first Flow.
You have two options:
- You can go to a page of your app where you want to create your Flow and open the Chrome Extension via its icon.

- From Studio, select Experiences > Flows and click ‘Create a Flow’.

Build URL
In the pop-up, provide a name for your Flow, as well as a Build URL. The Build URL is a page in your app where you can open the Flow in the builder and make any edits. While it could be the same URL where you'll show the live flow, this isn't the field that tells Appcues where the live version will show.

Creating a Flow
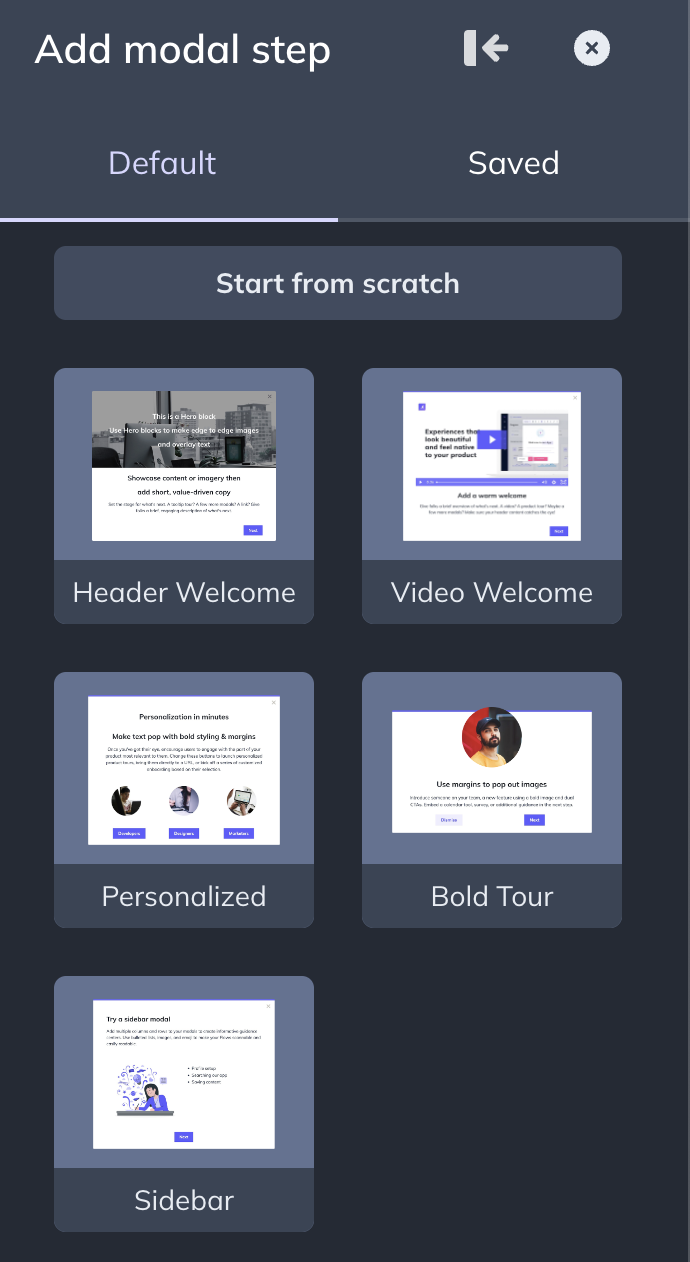
The first thing you will do is add your first step. You can select the type of step you want to add: Modal, Slideout, Tooltip or Hotspot.

You can either start with a template or create it from scratch.

Once you add the Step, your default Theme will be applied. If you want to use a different Theme, you can change it from the dropdown. Themes are applied to Step groups, so you can have different themes in the same Flow.

Adding components to a step
Components are what you put into each step and are how you make the flow content yours. Add images, videos, gifs, emojis, text, buttons, survey options, and even custom HTML to your steps. Just choose the option from the menu to get started.

Any changes you make in the Builder are autosaved - that is indicated by the green checkmark next to the gear icon.

After that, keeping adding all the necessary steps to complete your Flow.
Anytime while you're building your flow, you can preview it just like an end-user would. To preview, click on the eye icon next to the Target & Publish button.

After you've previewed your flow, you can click on 'Target & Publish' - this button won't immediately publish your flow, but will take you back to the dashboard where you can complete the settings of your flow.
For a deeper dive into building a flow step by step, our guide is a good resource: Build a Flow 101.
Appcues Webinar - Builder 101
If you'd like to watch a demonstration of all the steps that go into building an Appcues flow, including some handy tips and tricks, check out this webinar focused on our Flow Builder.