Automate email messaging in Hubspot with Appcues
Trigger hubspot email messages after users interact with Appcues content in your application.
Table of Contents
This article is based on the Appcues Hubspot Integration. If you don't already have this feature on your plan you can contact us for more information on how to add this feature.
Take the Appcues <> Hubspot bi-directional integration with the next level by automating out of product messages to our users as they interact with Appcues content.
In this guide we will focus on sending a review request to G2 when a user submits an NPS score greater than 5, however, the same logic can apply to any other Appcues event. Follow similar steps to automate messages when a user interacts with a Click-to-Track event, completes a flow, completes a checklist item, and so much more!
Build Guide
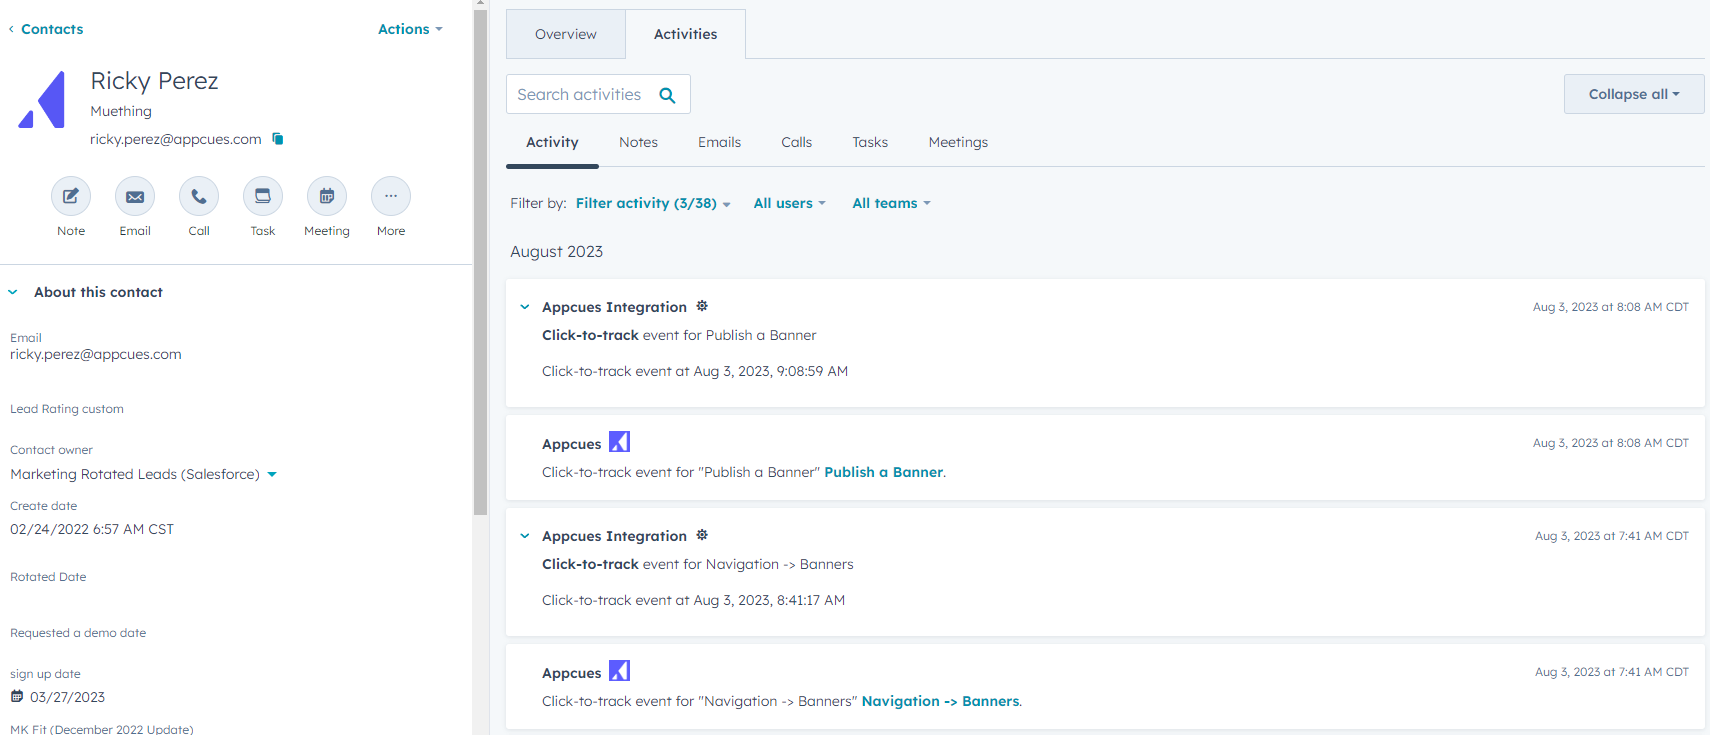
Once you have your Appcues Hubspot integration configured events generated by Appcues will automatically flow to your Hubspot contact activities timeline.
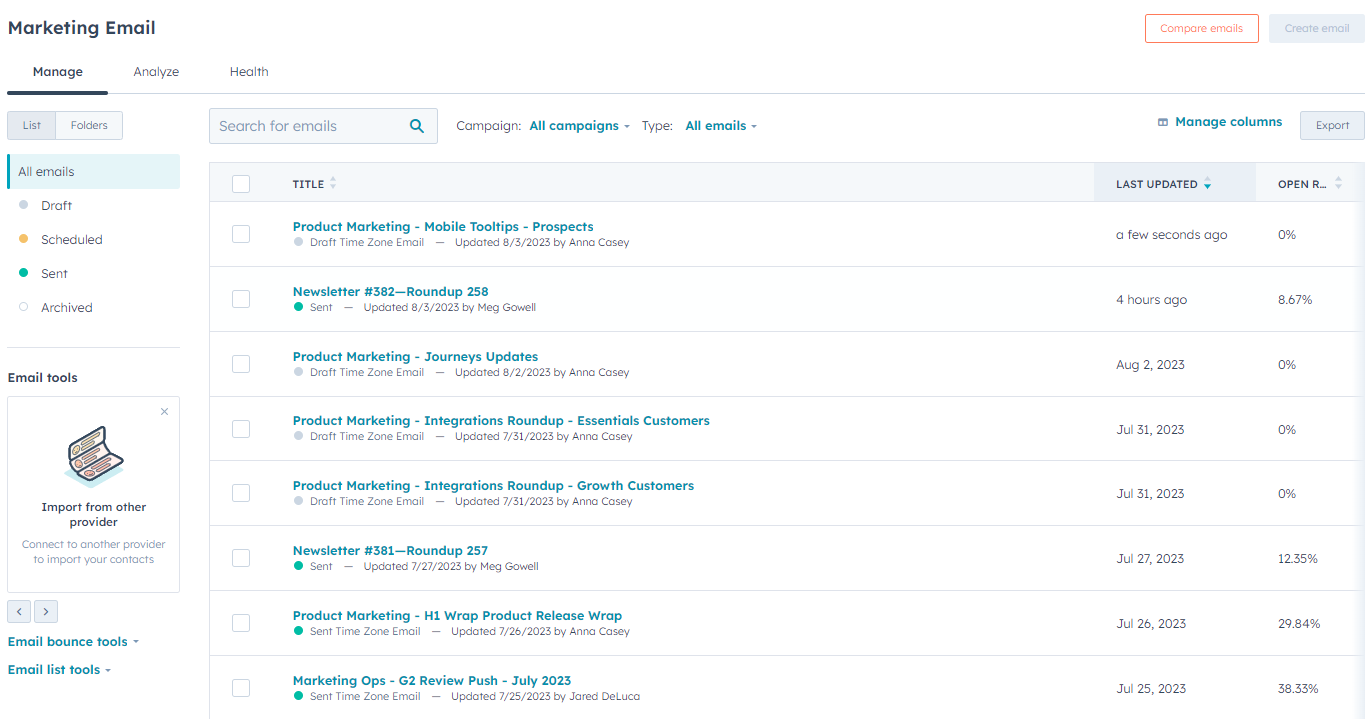
Step 1: Create a Hubspot email template
In Hubspot you will want to create an email template that you can reference within your workflows in the later steps of this guide.
Step 2: Create a workflow to stamp contact details
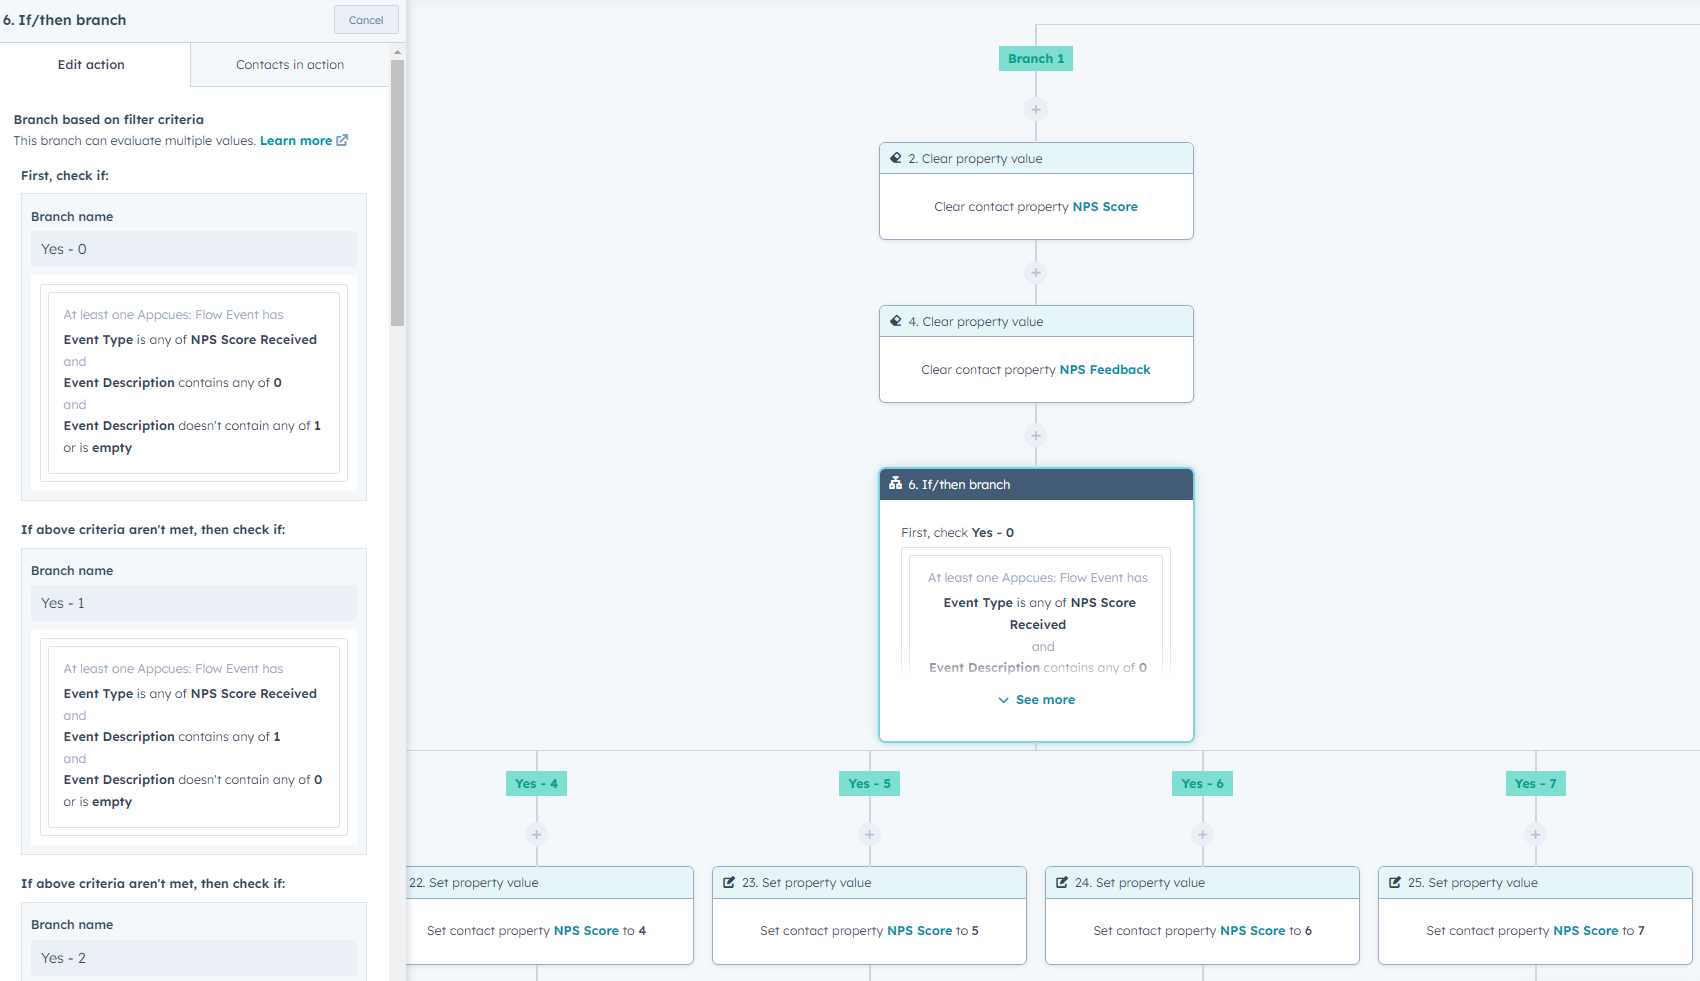
The problem that some users can have with the integration is that the events coming from Appcues write directly to the contact's activities and not to a set field on the Contact record. The first step in this build guild will be to create a workflow that will stamp values from an incoming activity to the contact directly.
For information on how to do this please review the following use case document, Using a Hubspot Workflow to add NPS Responses to a Contact Record. In this document we specifically look at taking incoming NPS survey responses and writing the score value to the contact record.
You'll want to deploy a Contact enrollment trigger flow that specifically scans for events coming from Appcues that match a certain value.
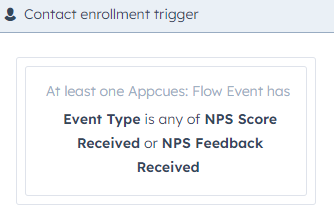
You'll also want to parse the information in that event and write it to the contact record as described in the previously linked use case document.
Workflows based on Appcues Events
The Appcues integration with HubSpot's workflow events can be found within the ‘When filter criteria is met’ workflow enrollment triggers.
To get started, first, navigate to your HubSpot workflows and add a new workflow.
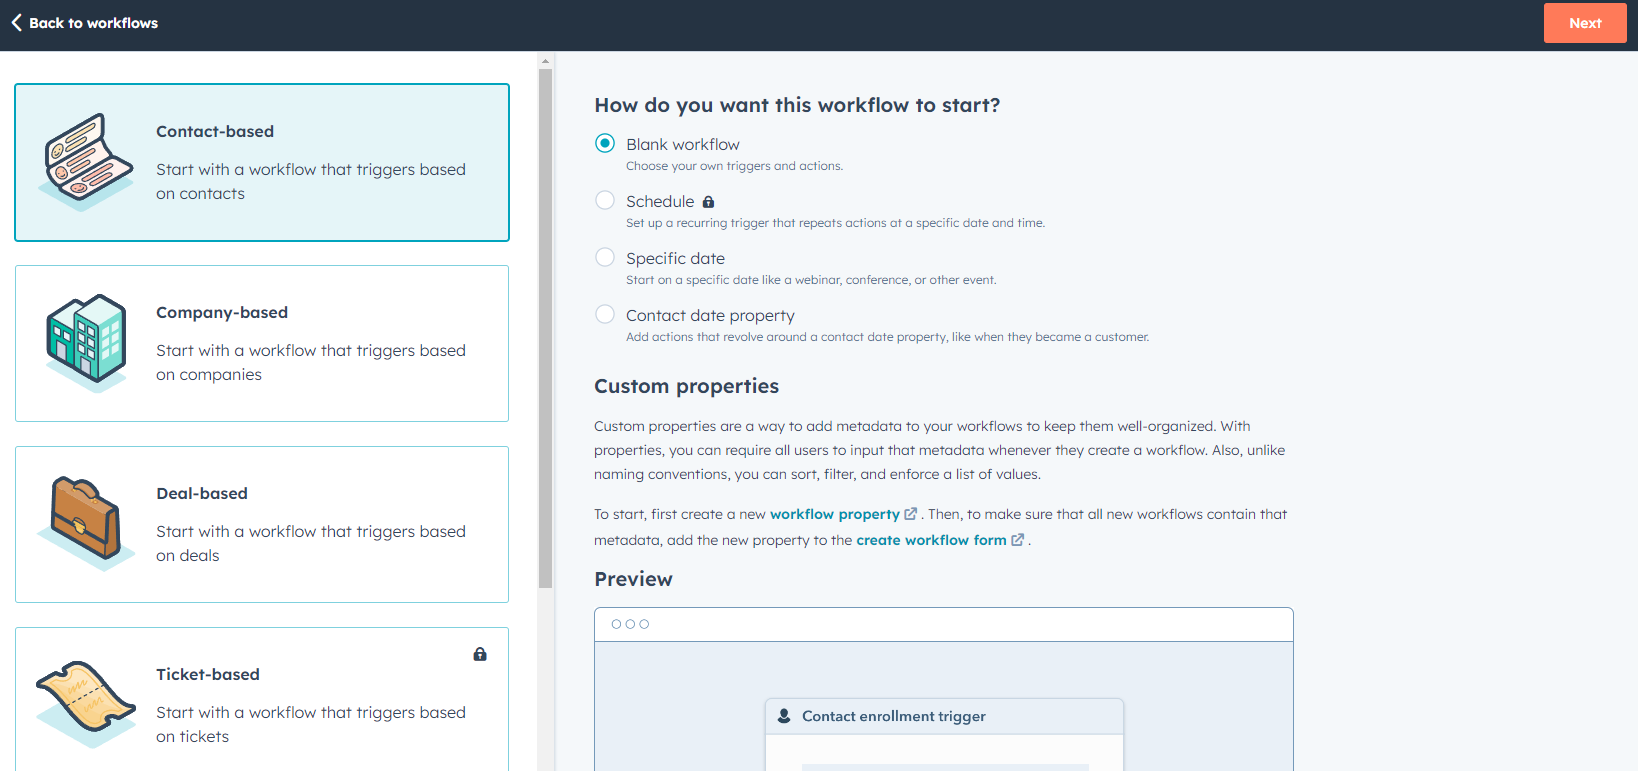
Appcues events will write to a contact's activity feed, so most workflows you will create will be Contact-based. In this example, we are just using a Blank workflow but feel free to experiment with other start methods for your HubSpot workflows.
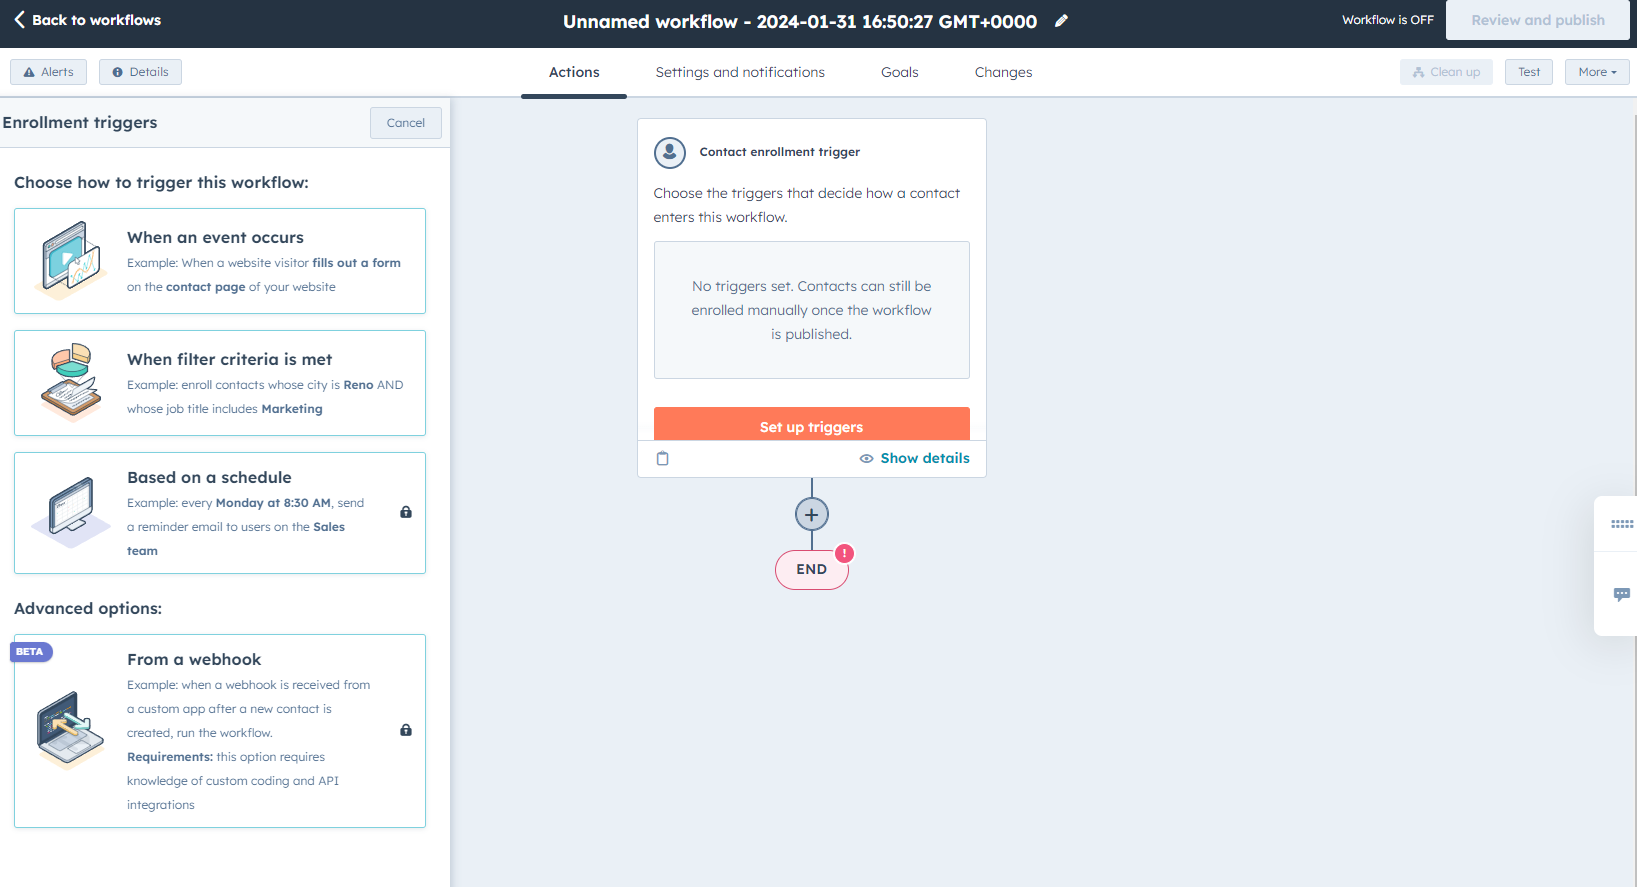
Next, select When filter criteria is met from the list and you can begin establishing a filter.
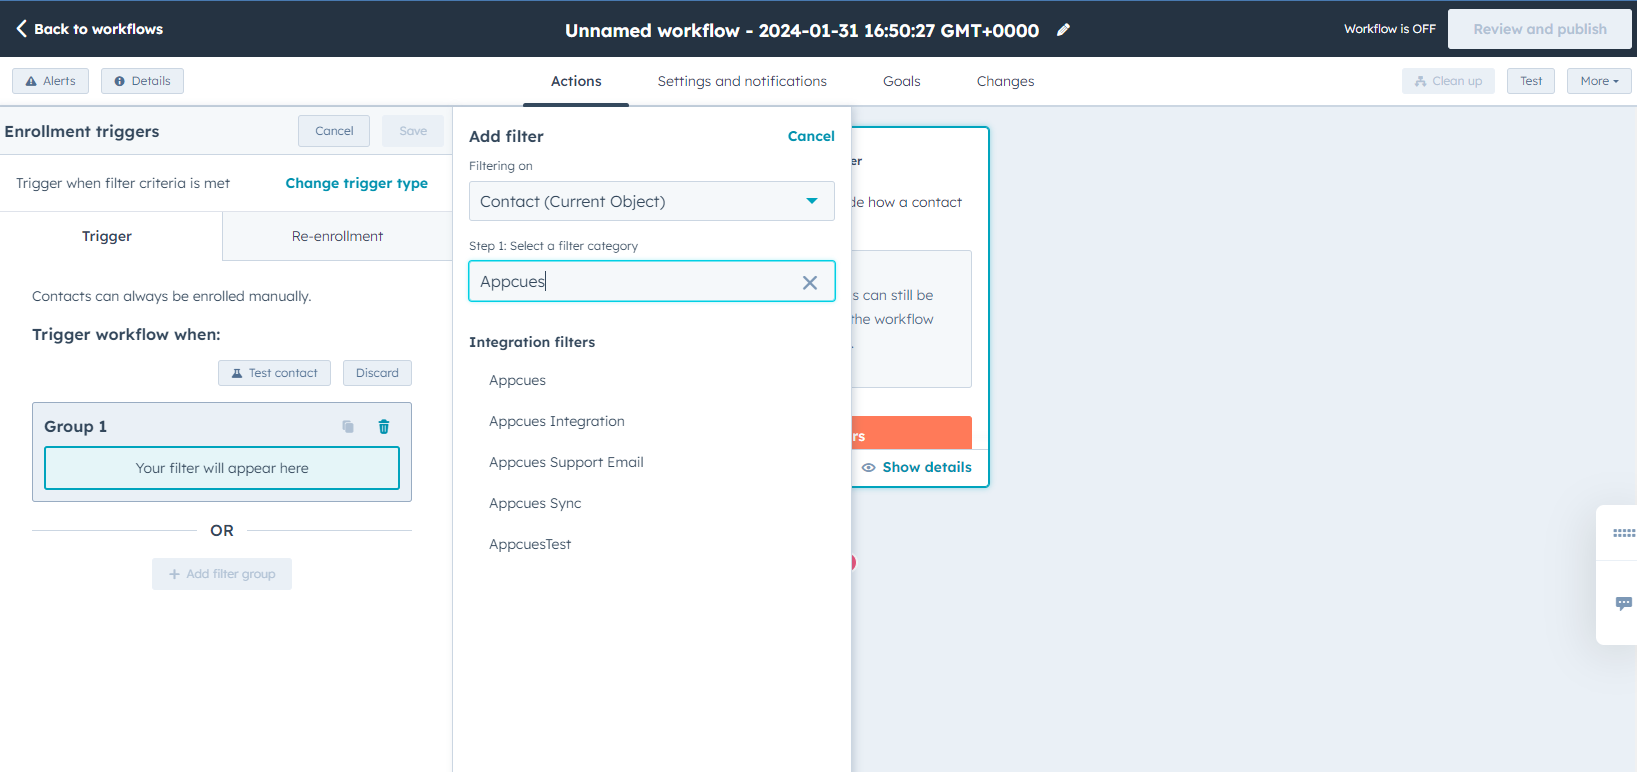
Search for Appcues and select Appcues from the Integration filters category listing.
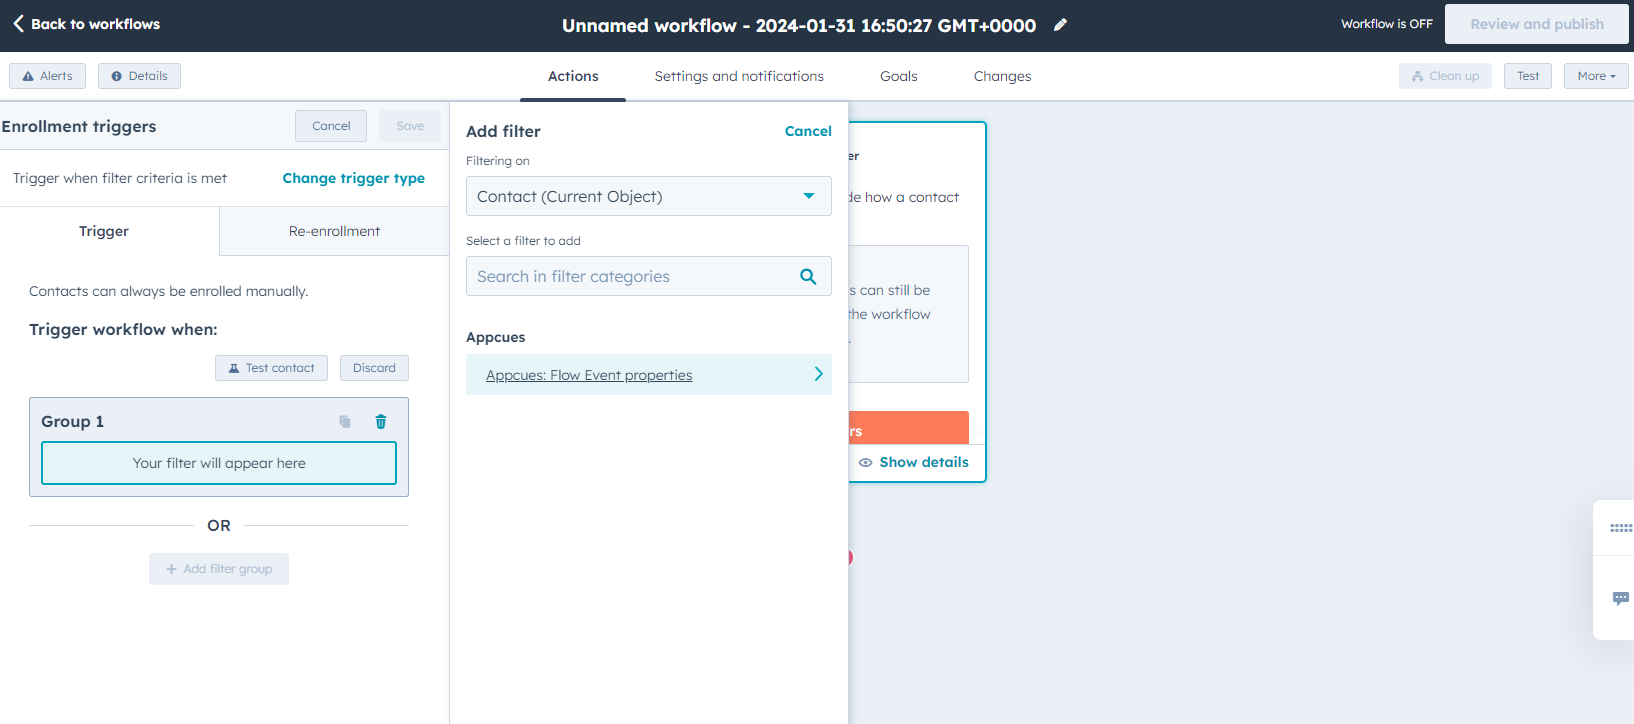
Next, select Appcues: Flow Event properties category.

You can establish Appcues activity filters based on an Appcues User ID, Event Description, Event Type, Flow ID, Flow Name, or Occurrence. Once you have selected a filter you will add conditions to further define your flow.
Step 3: Create a workflow to send an email template
For simplicity of iteration we decided to split out this automation into two seperate flows, the first to capture the data and the second to act (in this case send an email). However, if you desired this could be a single flow within Hubspot.
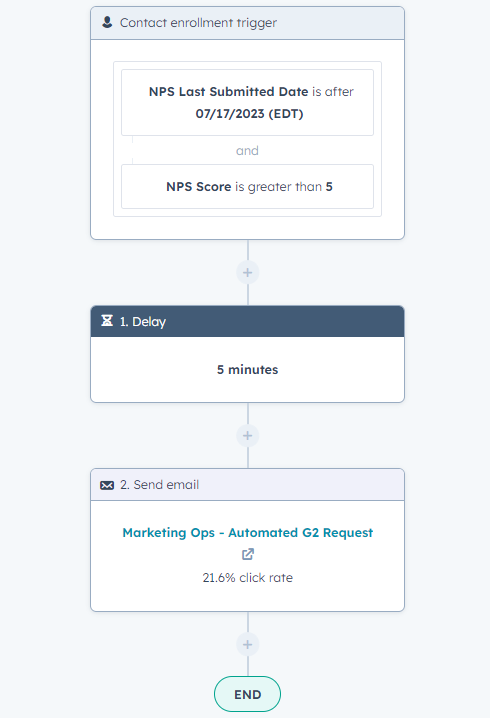
Using another Hubspot Contact enrollment trigger we will grab the values being update on the fields we are writing to in the workflow from step 2.
Adding a small delay will make your emails feel more organic and to your end users. Remember, they just completed an action in your application and may need time to wrap up what they are doing.
Finally, and most simply, use the Send email workflow action to take the email template you have created in Step 1 to send to your users.
Related Articles
Using a Hubspot Workflow to add NPS Responses to a Contact Record