Build a legacy Flow
Create and edit Flows in the legacy builder, including step groups, skip options and completion.
Table of Contents
This article covers Legacy Flows, built in the legacy Flow builder in the Appcues Chrome extension.
New Flows created in the Appcues App use the Flows 2.0 builder. See Create a Flow and Build Flows 2.0.
Also known as: Flows 1.0, classic Flows, old Flow builder, step groups.
Before you start
- Install the Appcues Chrome extension.
- Install Appcues on your application. You can build and preview without it, but you can't publish. See Install Appcues.
Create a legacy Flow
You can only create a legacy Flow from the Chrome extension. The New experience wizard in the Appcues App creates Flows 2.0 Flows.
- Go to the page in your app where you want to build.
- Click the Appcues extension icon in your browser toolbar. What would you like to do today? opens.
- Click Work on a Flow. Which type of Flow would you like to use? opens.
- Click Legacy. The legacy builder opens on the page.

Open an existing legacy Flow
In the App, click Experiences. Legacy Flows show the type Legacy Flow.
Open the Flow's menu (⋮) and click Edit in extension. The legacy builder opens in the Chrome extension.
Add steps
Each step uses one of four patterns:
| Pattern | Use it for | Anchored to an element |
|---|---|---|
| Modal | Welcome messages, announcements, content that needs full attention | No |
| Slideout | Feature announcements, feedback prompts, upgrade nudges | No |
| Tooltip | Guided walkthroughs: "click here, then here" | Yes |
| Hotspot | Feature discovery and on-demand help that users open when they want | Yes |
- Click + Add and choose a pattern.
- Choose a template, or start from scratch. Saved templates are on the Saved tab.
- For a Tooltip or Hotspot, click the element in your app that the step points to. The element highlights in green. For dynamic or hidden elements, see Place Tooltips and Hotspots.
- Click + Add again for the next step, and choose to add it to the current group or start a new group. See How step groups work.
The builder autosaves. A green checkmark next to the gear icon confirms the save.
Add content to a step
Click the + menu inside a step to add components:
- Text and Image / GIF. See Add text, images and GIFs.
- Video. See Embed a video in a Flow.
- Button. See Add and configure buttons.
- Survey / Form, to collect responses. See Create forms and surveys (legacy Flows).
- Emoji.
- Custom HTML. See Work with custom HTML.
Drag components to resize and rearrange them.

How step groups work
The legacy builder organizes steps into step groups. A group holds steps of one pattern only: Modals with Modals, Tooltips with Tooltips. Switching pattern needs a new group. Navigation steps count as their own group.

Steps in the same group share a Theme, a progress bar and navigation behavior. Groups also change how the Flow runs:
- Previous step buttons only go back within the current group.
- A progress bar counts steps in the current group, not the whole Flow.
- All Hotspots in a group show at the same time.
- Tooltip and Hotspot groups count as complete only when the user finishes every step in the group. See How completion is tracked.
Themes apply per group, so one Flow can use different Themes. Your default Theme is applied automatically. Change it from the dropdown in the step settings.
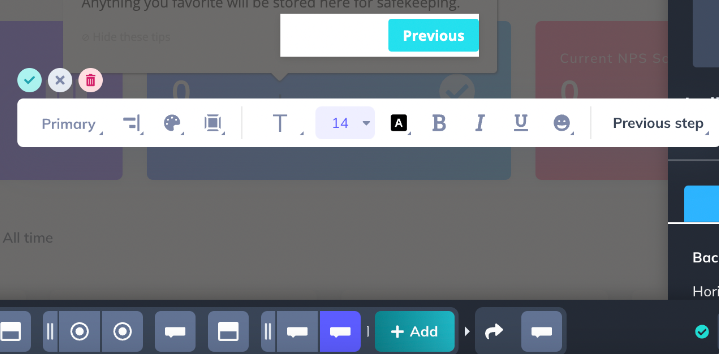
Manage steps
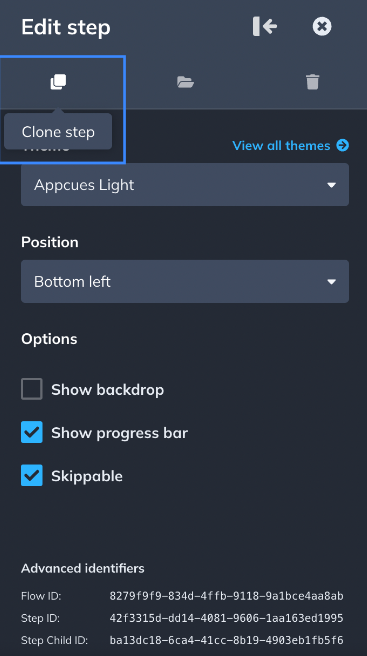
Select a step, then use the icons in its step settings menu.
Clone step (square icon) inserts a copy directly after the original, in the same group.
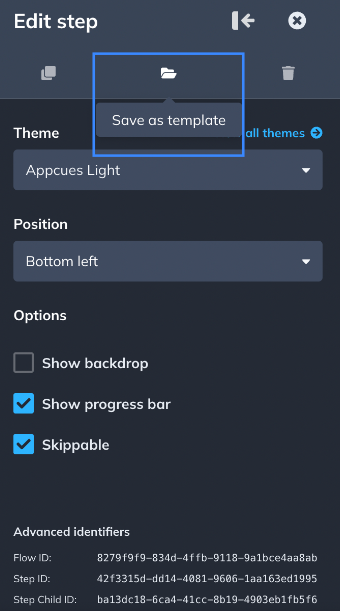
Save as template (folder icon) saves the step's content and styling to the Saved tab. The template doesn't keep the Theme, backdrop, beacon or skip options. It takes those from the group you add it to.
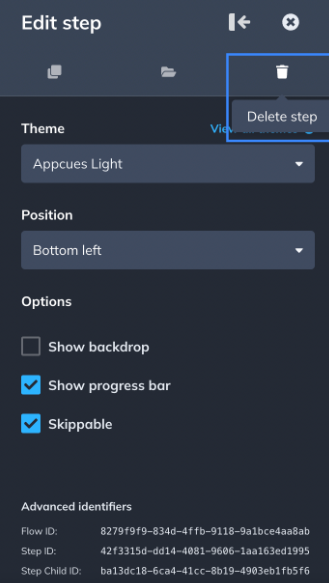
Delete step (bin icon) removes the step immediately. You can't undo it, so save the step as a template first if you might need it.
To reorder, drag steps within their group, or drag a whole group. You can't move a single step into another group. To move one, save it as a template, delete it, then add it to the other group from the Saved tab.


Configure each pattern
Modals
Choose a layout from the Type dropdown:
- Standard: centered, with your app dimmed behind it.
- Sidebar: slides in from the side, with your app dimmed behind it.
- Full screen: covers the whole viewport.

Slideouts
Slideouts sit at the edge of the screen, and users can still see your app behind them. Choose one of nine positions from the Position dropdown. The default is bottom left.

Tooltips and Hotspots
Both display a beacon on the target element:
| Pattern | Beacon options |
|---|---|
| Tooltip | No beacon, Hotspot beacon, question mark beacon |
| Hotspot | Hotspot beacon (default), question mark beacon |
Set the beacon icon, color and animation in your Theme, under the Tooltips and Hotspots configuration.

Colors, backdrop and progress bar
- Colors: set background and font colors for each pattern in your Theme.
-
Backdrop: Modal backdrops are set only in the Theme. Slideout backdrops are set in the Theme and turned on per step with Show backdrop. Tooltips have No backdrop, Soft backdrop or Hard backdrop in the builder. Hotspots have no backdrop. To change a Tooltip backdrop's color or opacity, add custom CSS for the
.apc-spotlightselector. - Progress bar: select Show progress bar in the step settings. It's available on Modals and Slideouts only.

Move users through the Flow
How a user advances depends on the pattern:
Modals and Slideouts need a button. Add at least one button with a Next step, Go to URL or Dismiss Flow action to every Modal and Slideout. Without one, the user has no way to continue.
Tooltips advance when the user clicks a Next step button. With no button, the Tooltip advances when the user clicks the element it points to. If it's the last step, that click completes the Flow.


Hotspots advance once the user has opened every Hotspot in the group. Hotspots don't support Next buttons, because users open them in any order.

Add a navigation step
- Add a navigation step whenever the URL changes between two steps. Without one, the Flow stops when the page changes.
- Click + Add > Navigate. The builder enters navigation mode.
- Go to the page where the next step should appear, then click Switch back to Build mode.
- Choose Redirect to send the user to the URL, or Let them navigate to wait until they get there themselves.
See Build a Flow across pages for wildcards and dynamic URLs.
Let users skip a step, or require them to finish it
Each step has two settings that work together: whether it's skippable, and whether it has a backdrop.
| Pattern | Skip options | Backdrop |
|---|---|---|
| Modal | Skippable adds an X | Set in the Theme |
| Slideout | Skippable adds an X | Show backdrop per step |
| Tooltip | X button, Dismiss link, both or neither | None, soft or hard |
| Hotspot | Dismiss link only | Not supported |
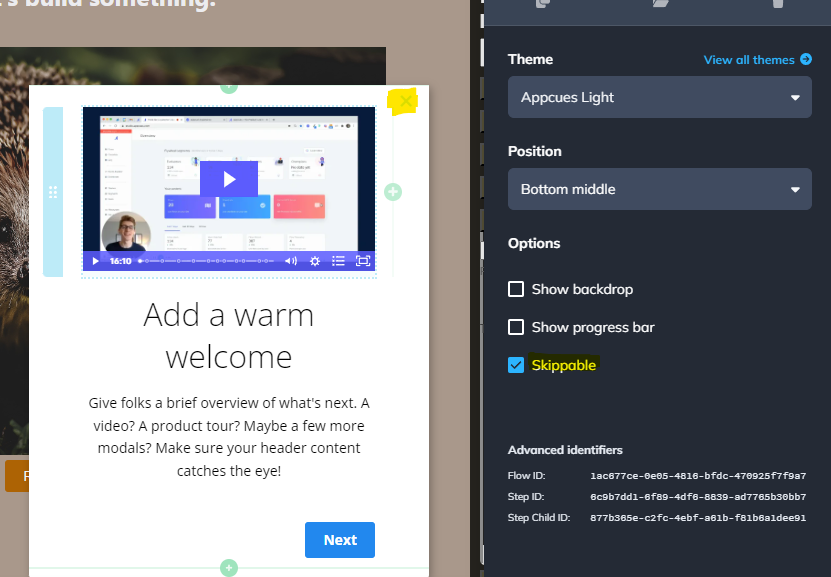

Combinations to know:
- Standard and Sidebar Modals that are skippable close when the user clicks outside them, even with a 100% backdrop. To prevent that, use a Full screen Modal or turn Skippable off.
- Full screen Modals can only be closed with the X (when skippable) or a button.
- The strictest Slideout is not skippable with the backdrop on. The user has to click a button inside it.
- A Slideout with no skip and no backdrop stays on screen while the user works in your app, until they click a button or leave the page.
- A Tooltip with a hard backdrop still lets users click the target element. That click advances the Flow.
- Hotspots never block the page. The dismiss link ("Hide these tips") hides the remaining Hotspots.
When a user skips a step with the X, the dismiss link or a click outside a skippable Modal:
- Appcues records
step_skippedandflow_skippedevents. - The whole Flow ends, not only the step.
- The Flow isn't marked complete. A Show once Flow counts as seen and won't show again.
To style the dismiss link, add custom CSS in your Theme.
Preview the Flow
Click the eye icon next to Target & Publish. Preview shows the design, but it doesn't check targeting, user properties or live data. To test targeting, see Preview and test Flows.

Set what happens when the Flow finishes
A legacy Flow can send users to another page, start another legacy Flow, or both, when it completes.
- In the Appcues App, open the Flow's Settings tab and go to What happens next.
- To send users to another page, select Send them to another page and enter a Redirect URL. Start the URL with
https://for another site, or/for a page on this one. - To start another Flow, select Start another flow and choose it under Next flow. Only legacy Flows are listed. Flows that a Workflow runs aren't offered.
These actions don't run in preview.
Rules for linked Flows
- The next Flow ignores its own audience, page targeting and frequency. Anyone who completes the first Flow sees it.
- The next Flow must be published.
- If the next Flow lives on another page, set Send them to another page as well, so the user lands on the right URL.
- To stop the next Flow from also showing on its own, set its trigger to Only manually.
- A manually set priority weight on the next Flow can interfere with the chain. Remove it. See Set Flow priorities.
How completion is tracked
Completion counts differently for targeting rules and for analytics.
In targeting rules, Modal and Slideout steps count as done once they're seen ("has been seen"). Tooltip and Hotspot steps count only once the user interacts with them ("has been completed").
A Show once Flow that starts with a Tooltip or Hotspot group keeps showing until the user completes every step in that first group.
In analytics, a group counts as completed when the user leaves its last step with one of these:
- A Next step button.
- A Go to URL or Dismiss Flow button with Mark flow in progress as complete selected.
- A Skip to Next Group button. On the last group, this completes the Flow.
- A Trigger Appcues Flow button.
- For a Tooltip with no button, a click on the target element.
- For Hotspots, opening the last Hotspot in the group.
Closing a step with the X or the dismiss link doesn't count as completed. It records flow_skipped.
A Checklist item set to complete from a multi-group Flow only checks off after the user sees or completes the Flow's first group.
Configure and publish
Targeting, trigger, frequency and priority are on the Flow's Settings tab in the Appcues App. See Configure an experience's settings. To publish, see Publish, schedule, and unpublish an experience.
Confirm it worked
- Visit a targeted page as a user who matches the audience. The Flow appears.
- On the Flow's analytics, recent users show the Flow as seen.
If the Flow doesn't appear
- Open the Appcues debugger and confirm every row shows a green checkmark.
- In Audiences > Users, open the user's Eligibility tab to see whether they qualify. See Find and inspect users.
- If the Flow is Show once and the user already saw it, test with a permalink or Test mode.
- If a Modal or Slideout has no button, users can't move past it. Add one.
- If the Flow stops after a page change, add a navigation step between the two pages.
- See Troubleshoot Flows for the full checklist.
Still stuck?
Collect the following and contact support:
- The Flow's URL from the browser's address bar on its Settings tab, and its Experience ID from Who changed this.
- The affected user's user ID.
- The page URL where the issue happens.
- A screenshot or screen recording of the problem.
- Any console errors from your browser's developer tools.